Mender Gateway
Mender Gateway is only available in the Mender Enterprise plan. See the Mender plans page for an overview of all Mender plans and features.
This tutorial will walk you through setting up a Mender Gateway in your local network to connect one local device running Mender to an upstream Mender Server. To simulate a segregated network and demonstrate the use-case we will make it impossible for the local device to connect to the Mender Server directly.
Prerequisites
To follow this tutorial you will need to prepare a Raspberry Pi device and connect it to hosted Mender or your Mender Server.
This tutorial assumes that your device is running the Raspbian OS. If you are running a Yocto distribution the commands to install the Mender Gateway will fail as they won't be able to recognize your distribution.
You will also need Docker installed on your workstation to start the virtual device you will connect to the Mender Gateway.
Installation
The first step is installing the Mender Gateway into your Raspberry Pi device.
You can use the "Connect a device" dropdown in the Mender UI and select the "Promote a device to gateway" menu item to generate a snippet to install easily the Mender Gateway package into your device.
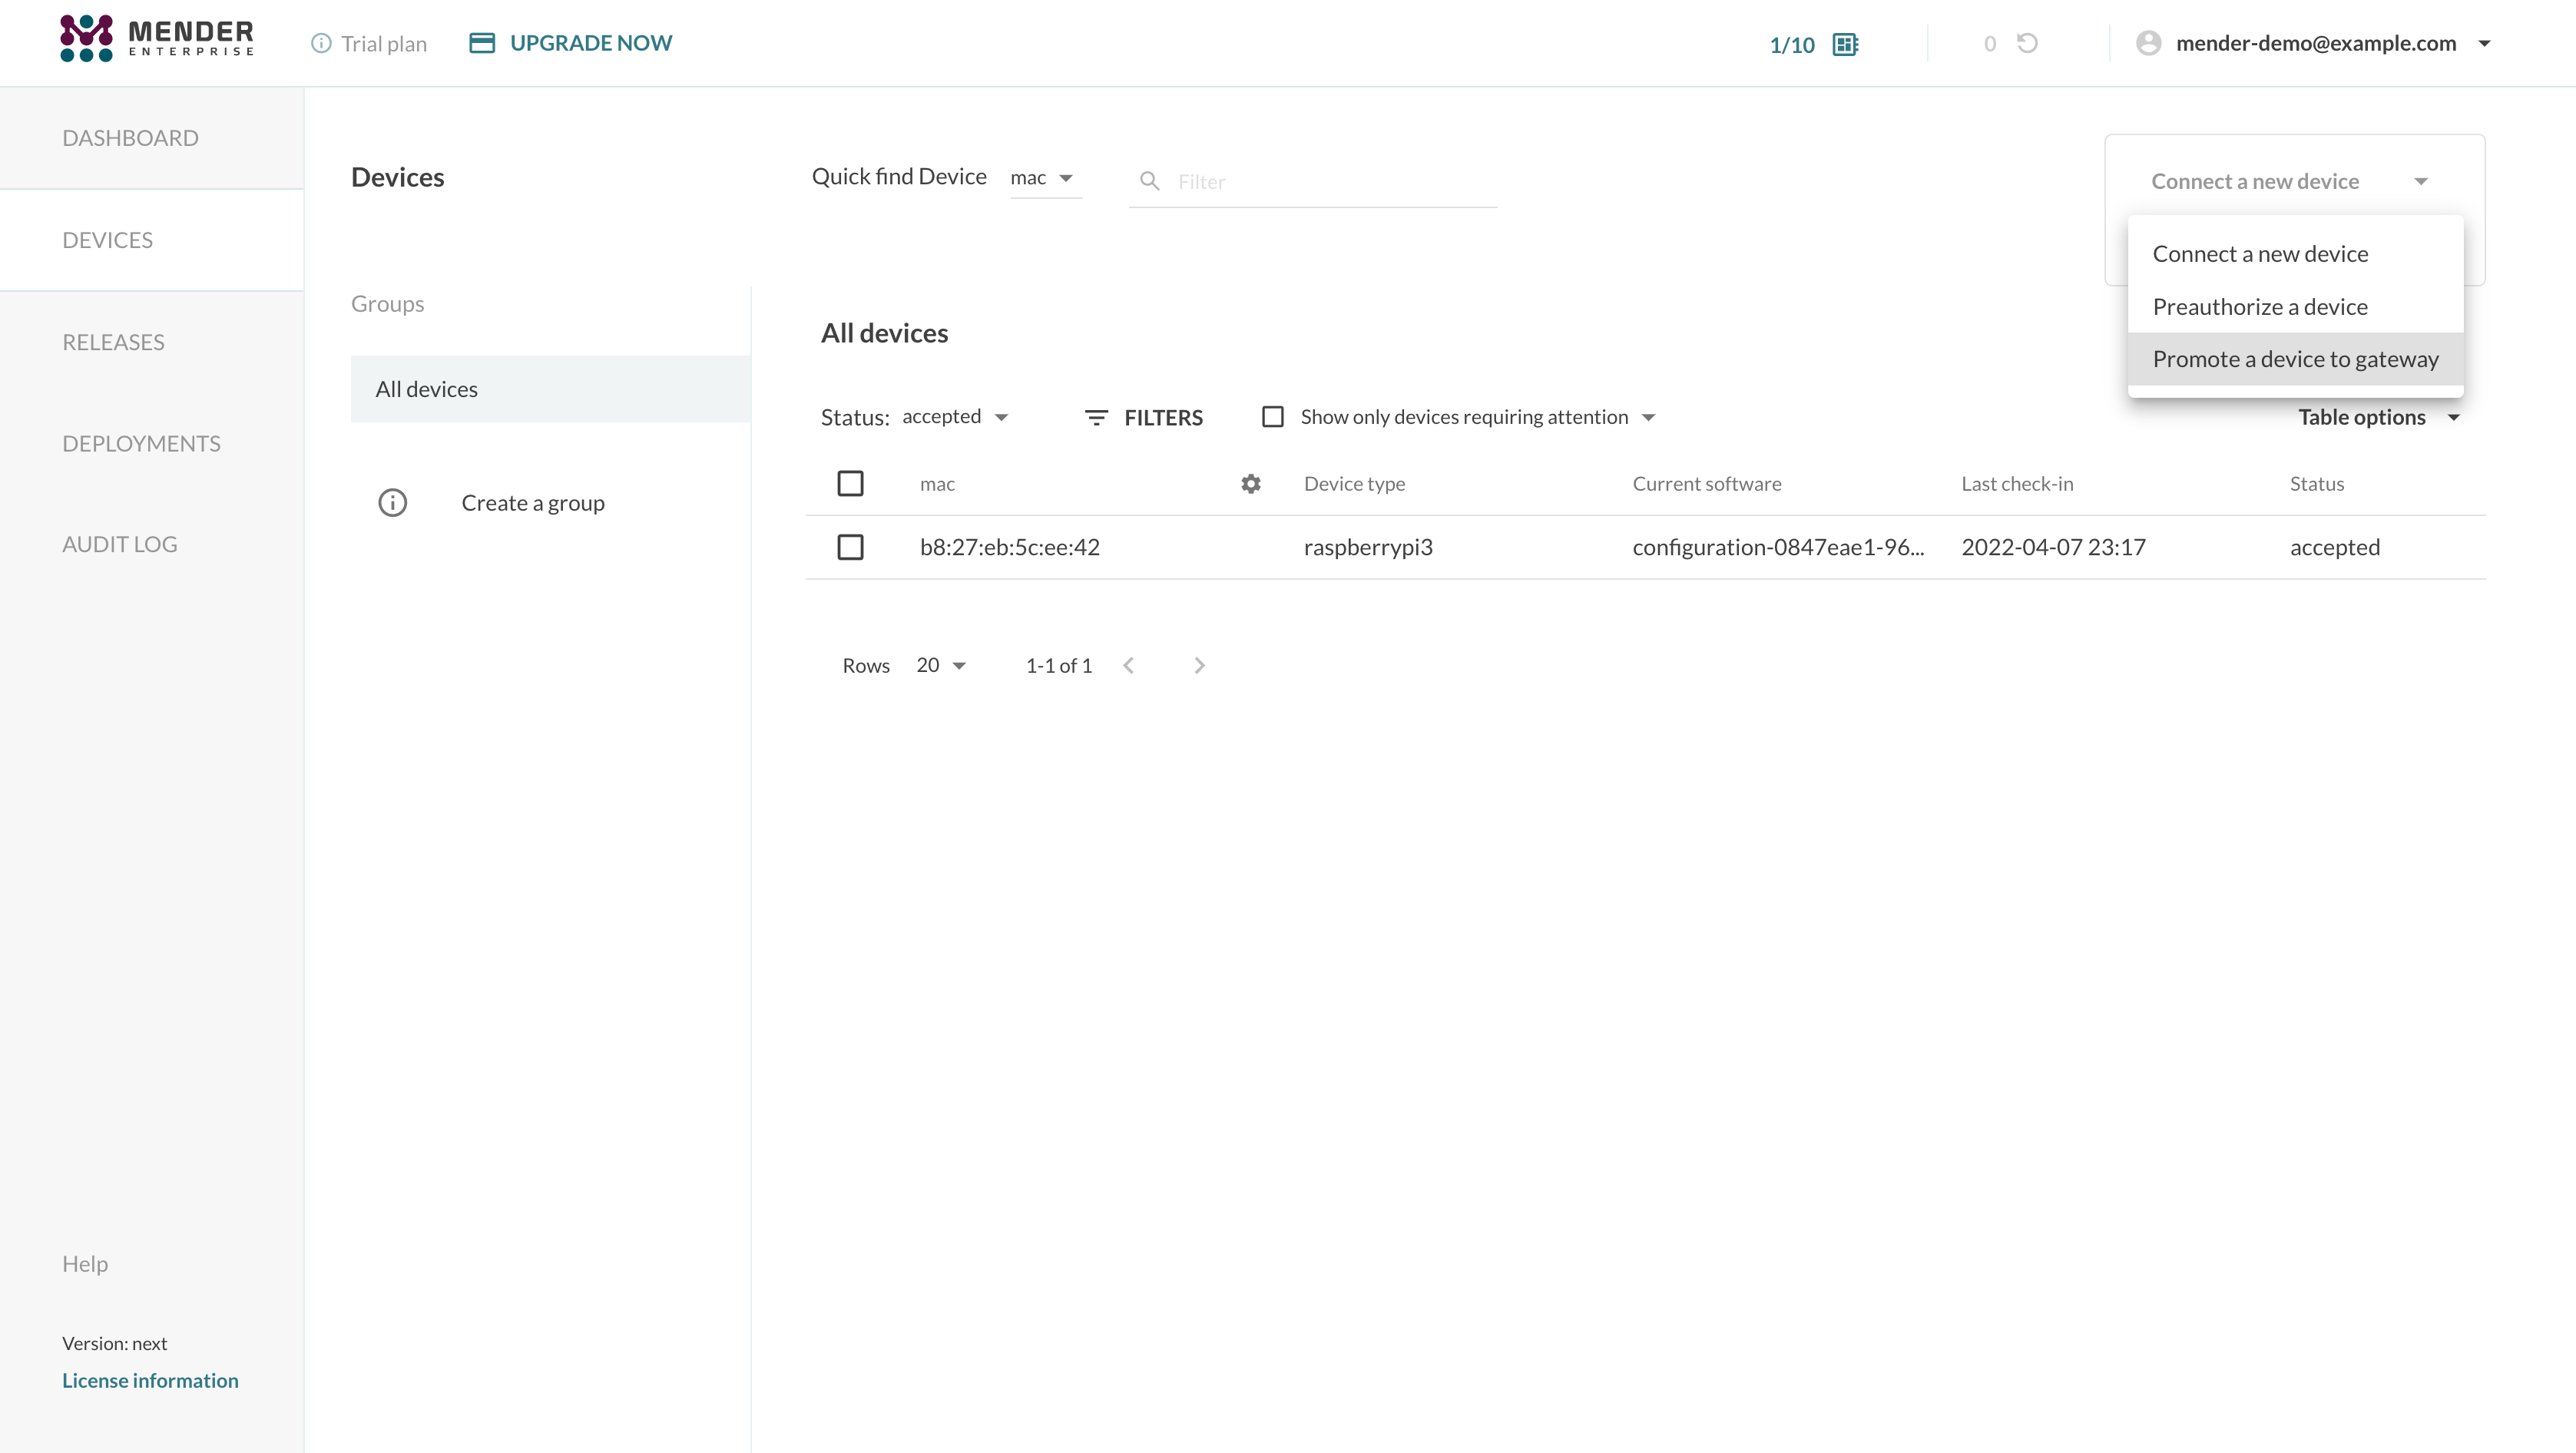
An example snippet follows:
JWT_TOKEN='eyJhbGciOiJS...'

wget -O- https://get.mender.io | sudo bash -s -- --jwt-token "$JWT_TOKEN" mender-gateway --demo
The JWT_TOKEN environment variable contains a valid hosted Mender JWT token which the script
will use to authenticate to the server when downloading the Mender Gateway binaries.
Configuration
When installing the Mender Gateway in demo mode (see the --demo flag in the snippet above),
the package automatically configures it to connect to hosted Mender, forwarding both device APIs
and the Artifacts. It also ships with an example HTTPS certificate that you will have to add to
the list of trusted certificates in your devices connecting to the Mender Gateway.
You can inspect the configuration file /etc/mender/mender-gateway.conf:
{
    "HTTPS": {
        "Enabled": true,
        "Listen": ":443",
        "ServerCertificate": "/usr/share/doc/mender-gateway/examples/cert/cert.crt",
        "ServerKey": "/usr/share/doc/mender-gateway/examples/cert/private.key"
    },
    "Features": {
        "ArtifactsProxy": {
            "Enabled": true,
            "GatewayURL": "https://gateway.docker.mender.io",
            "DomainWhitelist": ["s3.amazonaws.com"]
        }
    },
    "UpstreamServer": {
        "URL": "https://hosted.mender.io"
    }
}
Please refer to the Mender Gateway's configuration file documentation for detailed information about the various settings.
Systems
A System is a group of devices belonging to the same product or logical entity connected to a Mender Gateway instance. Devices in a System usually require coordination during the update process. To define a System, each device must report to the Mender Server a special inventory attribute named mender_gateway_system_id, containing a unique identifier for the given system.
The Mender Gateway can set the System ID for all the devices connected to it thanks to the SystemID configuration setting. When enabled, this feature injects this inventory attributes for all the devices connected to the gateway.
An example configuration follows:
{
    "HTTPS": {
        "Enabled": true,
        "Listen": ":443",
        "ServerCertificate": "/usr/share/doc/mender-gateway/examples/cert/cert.crt",
        "ServerKey": "/usr/share/doc/mender-gateway/examples/cert/private.key"
    },
    "Features": {
        "ArtifactsProxy": {
            "Enabled": true,
            "GatewayURL": "https://gateway.docker.mender.io",
            "DomainWhitelist": ["s3.amazonaws.com"]
        },
        "DeviceSystem": {
            "Enabled": true,
            "SystemID": "REPLACE_WITH_YOUR_UNIQUE_SYSTEM_ID"
        }
    },
    "UpstreamServer": {
        "URL": "https://hosted.mender.io"
    }
}
Using the DefaultInventory setting, you can add a list of default inventory attributes to all the devices connecting to this Mender Gateway instance:
{
    "Features": {
        "DeviceSystem": {
            "Enabled": true,
            "SystemID": "REPLACE_WITH_YOUR_UNIQUE_SYSTEM_ID",
            "DefaultInventory": [
                {
                    "Name": "region",
                    "Value": "eu"
                },
                {
                    "Name": "customer_name",
                    "Value": "ACME Inc."
                }
            ]
        }
    }
}
Run the service and inspect the logs
The Mender Gateway package runs as a systemd service.
You can check the status of the service running:
sudo systemctl status mender-gateway
● mender-gateway.service - Mender Gateway service
  Loaded: loaded (/lib/systemd/system/mender-gateway.service; enabled; vendor preset: enabled)
  Active: active (running) since Fri 2022-04-08 06:10:44 CEST; 6min ago
 Main PID: 12374 (mender-gateway)
   Tasks: 5 (limit: 877)
  CGroup: /system.slice/mender-gateway.service
          └─12374 /usr/bin/mender-gateway

Apr 08 06:10:44 raspberrypi systemd[1]: Started Mender Gateway service.
Apr 08 06:10:44 raspberrypi mender-gateway[12374]: time="2022-04-08T06:10:44+02:00" level=info msg="loaded configuration file: /etc/mender/mender-gateway.conf" file=config.go func=config.loadConfigFile line=143
Apr 08 06:10:44 raspberrypi mender-gateway[12374]: time="2022-04-08T06:10:44+02:00" level=info msg="starting mender-gateway" file=main.go func=main.doMain line=96
Apr 08 06:10:44 raspberrypi mender-gateway[12374]: time="2022-04-08T06:10:44+02:00" level=info msg="creating proxy with url https://hosted.mender.io, insecure skip verify: false" file=proxy.go func=proxy.NewProxy line=47
Apr 08 06:10:44 raspberrypi mender-gateway[12374]: time="2022-04-08T06:10:44+02:00" level=info msg="proxy scheme: https, host: hosted.mender.io" file=proxy.go func=proxy.NewProxy line=54
Apr 08 06:10:44 raspberrypi mender-gateway[12374]: time="2022-04-08T06:10:44+02:00" level=info msg="created client with base url https://hosted.mender.io, insecure skip verify: false" file=client.go func=mender.NewClient line=49
Apr 08 06:10:44 raspberrypi mender-gateway[12374]: time="2022-04-08T06:10:44+02:00" level=info msg=running... file=server.go func="server.(*Server).Run" line=75
You can start, stop, or restart the service using systemctl:
sudo systemctl restart mender-gatewayTo inspect the logs you can use journalctl:
sudo journalctl -u mender-gateway -f
-- Logs begin at Thu 2022-04-07 22:32:20 CEST. --
Apr 08 06:21:26 raspberrypi systemd[1]: mender-gateway.service: Main process exited, code=killed, status=15/TERM
Apr 08 06:21:26 raspberrypi systemd[1]: mender-gateway.service: Succeeded.
Apr 08 06:21:26 raspberrypi systemd[1]: Stopped Mender Gateway service.
Apr 08 06:21:26 raspberrypi systemd[1]: Started Mender Gateway service.
Apr 08 06:21:27 raspberrypi mender-gateway[17155]: time="2022-04-08T06:21:26+02:00" level=info msg="loaded configuration file: /etc/mender/mender-gateway.conf" file=config.go func=config.loadConfigFile line=143
Apr 08 06:21:27 raspberrypi mender-gateway[17155]: time="2022-04-08T06:21:27+02:00" level=info msg="starting mender-gateway" file=main.go func=main.doMain line=96
Apr 08 06:21:27 raspberrypi mender-gateway[17155]: time="2022-04-08T06:21:27+02:00" level=info msg="creating proxy with url https://hosted.mender.io, insecure skip verify: false" file=proxy.go func=proxy.NewProxy line=47
Apr 08 06:21:27 raspberrypi mender-gateway[17155]: time="2022-04-08T06:21:27+02:00" level=info msg="proxy scheme: https, host: hosted.mender.io" file=proxy.go func=proxy.NewProxy line=54
Apr 08 06:21:27 raspberrypi mender-gateway[17155]: time="2022-04-08T06:21:27+02:00" level=info msg="created client with base url https://hosted.mender.io, insecure skip verify: false" file=client.go func=mender.NewClient line=49
Apr 08 06:21:27 raspberrypi mender-gateway[17155]: time="2022-04-08T06:21:27+02:00" level=info msg=running... file=server.go func="server.(*Server).Run" line=75
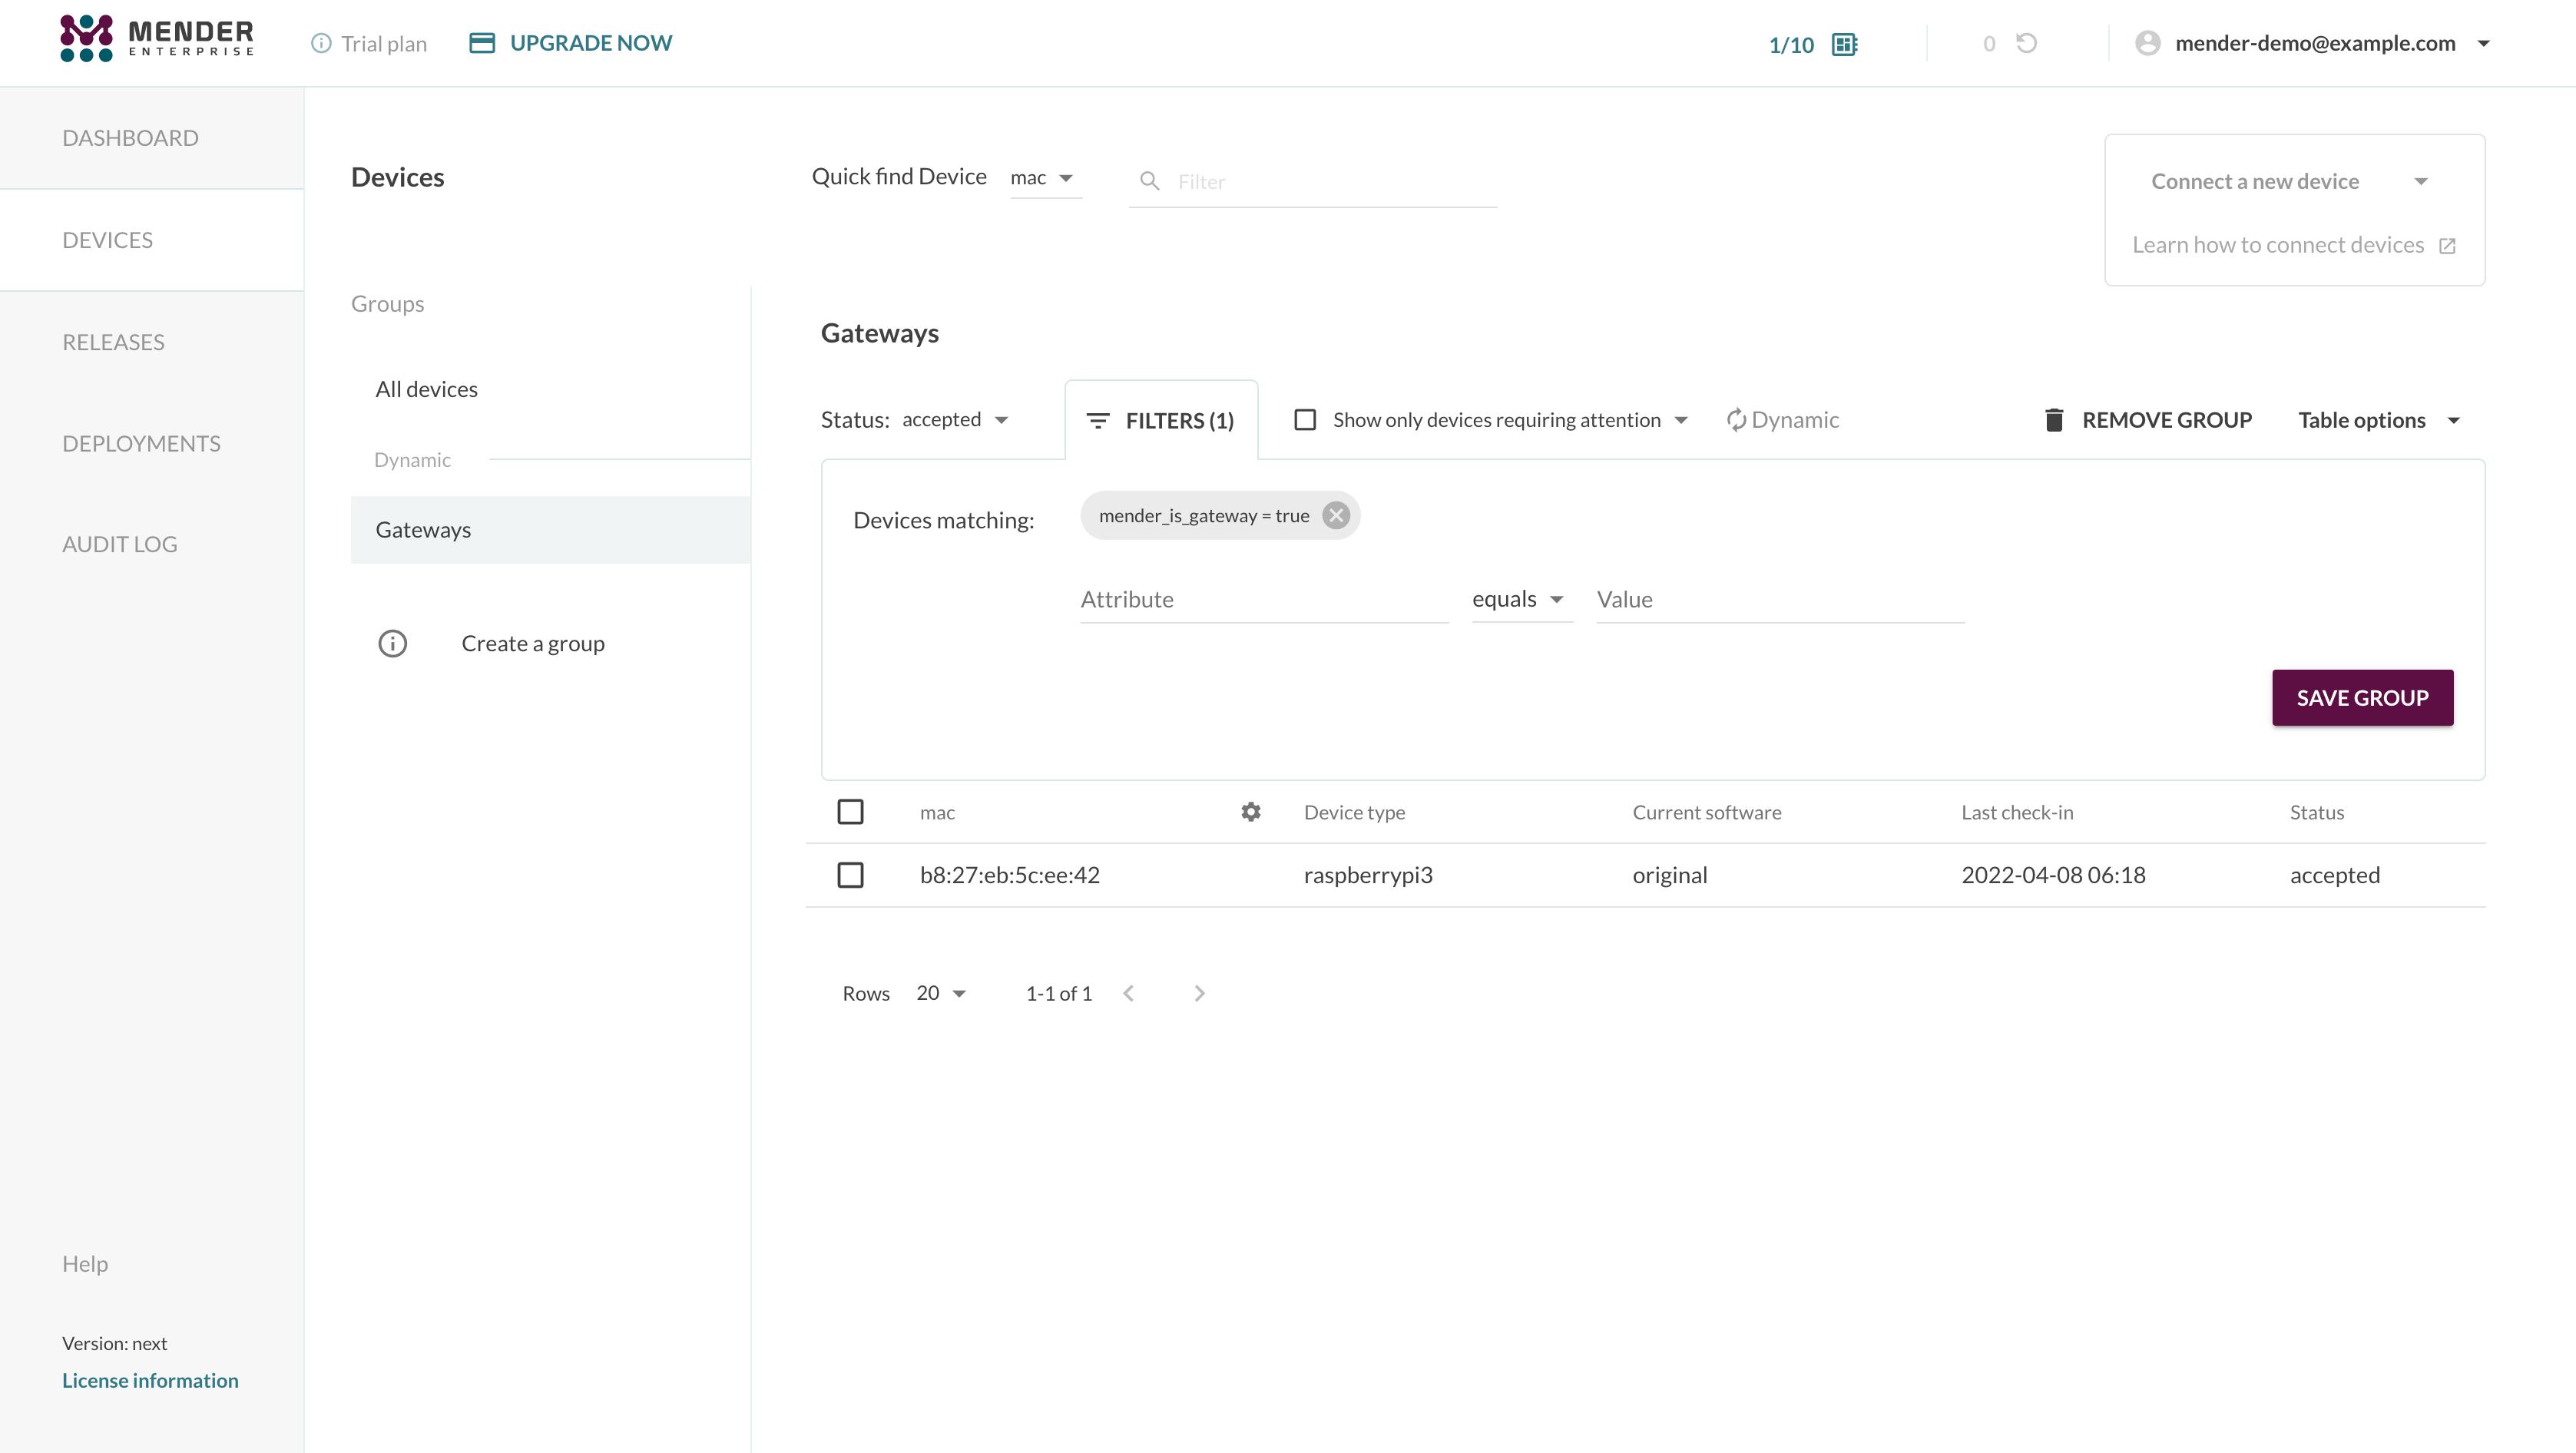
Manage the Mender Gateways in the UI
The Mender Gateway devices have a special inventory attribute mender_is_gateway set to true.
Leveraging this, you can filter these devices and eventually create a dynamic group, as shown below:
Obtain the Mender Gateway's IP address
To connect other devices to the Mender Gateway, we need to obtain its IP address. On the Raspberry PI, run the following command:
export SERVER_IP=$(sudo hostname -I)
echo $SERVER_IP
192.168.1.163
Note this IP address as we'll use it later in the tutorial.
Connect a device to the Mender Gateway
To simulate a device running in a segregated network, we'll launch a virtual device using Docker and connect it to the Mender Gateway running on the Raspberry PI device.
First of all, you need to obtain and export your tenant token. You can copy the value of the tenant token either from the Connecting a device modal window or the My organization view in the settings.
export TENANT_TOKEN='eyJhbGciOiJS...'At this point, you can start a virtual device running:
docker run -it -p 85:85 --pull=always \
    -e SERVER_IP="$SERVER_IP" \
    -e SERVER_URL='https://gateway.docker.mender.io' \
    -e TENANT_TOKEN="$TENANT_TOKEN" \
    mendersoftware/mender-client-qemu
Be aware that the environment variable SERVER_IP must be set to the Raspberry PI's local network
IP address. The Docker container running the Mender Client will automatically add a line in /etc/hosts
to make gateway.docker.mender.io point to the specified IP address.
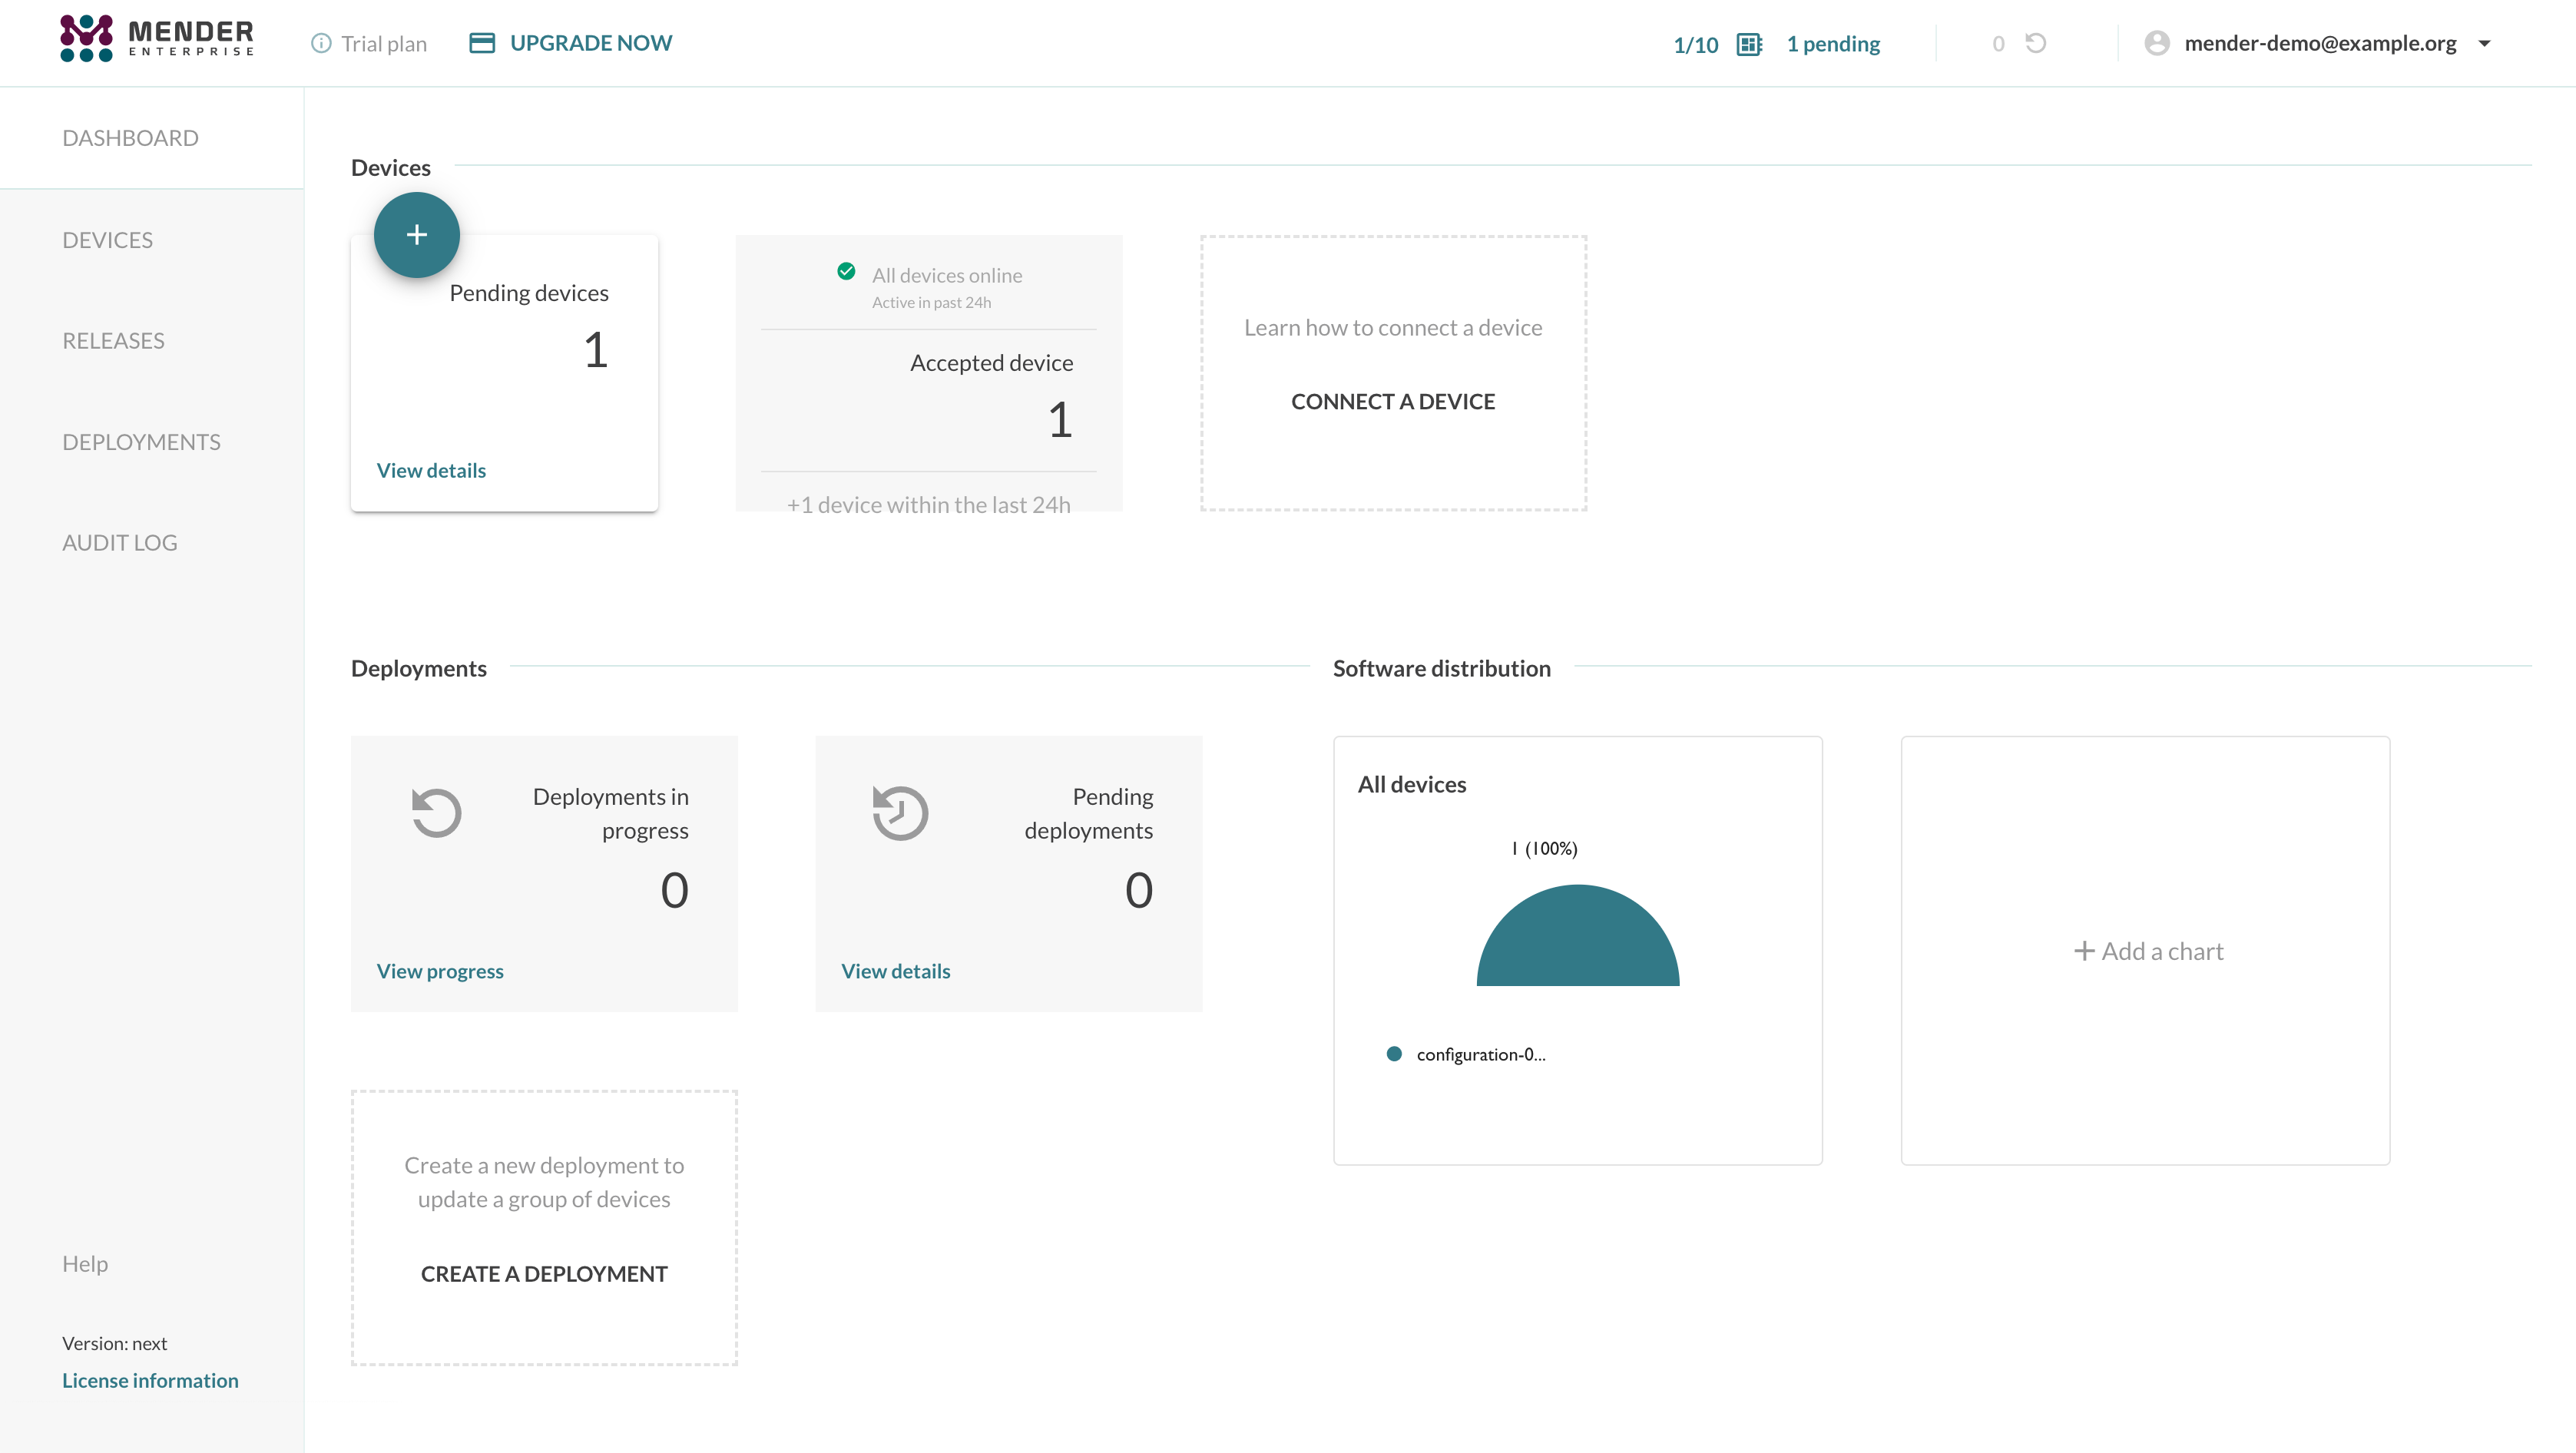
The device will connect to the Mender Gateway which will forward the API calls to hosted Mender or your upstream Mender Server. The virtual device will show up in the Mender UI as a new pending device. You can accept your devices as usual to authorize the connection to the Mender Server.
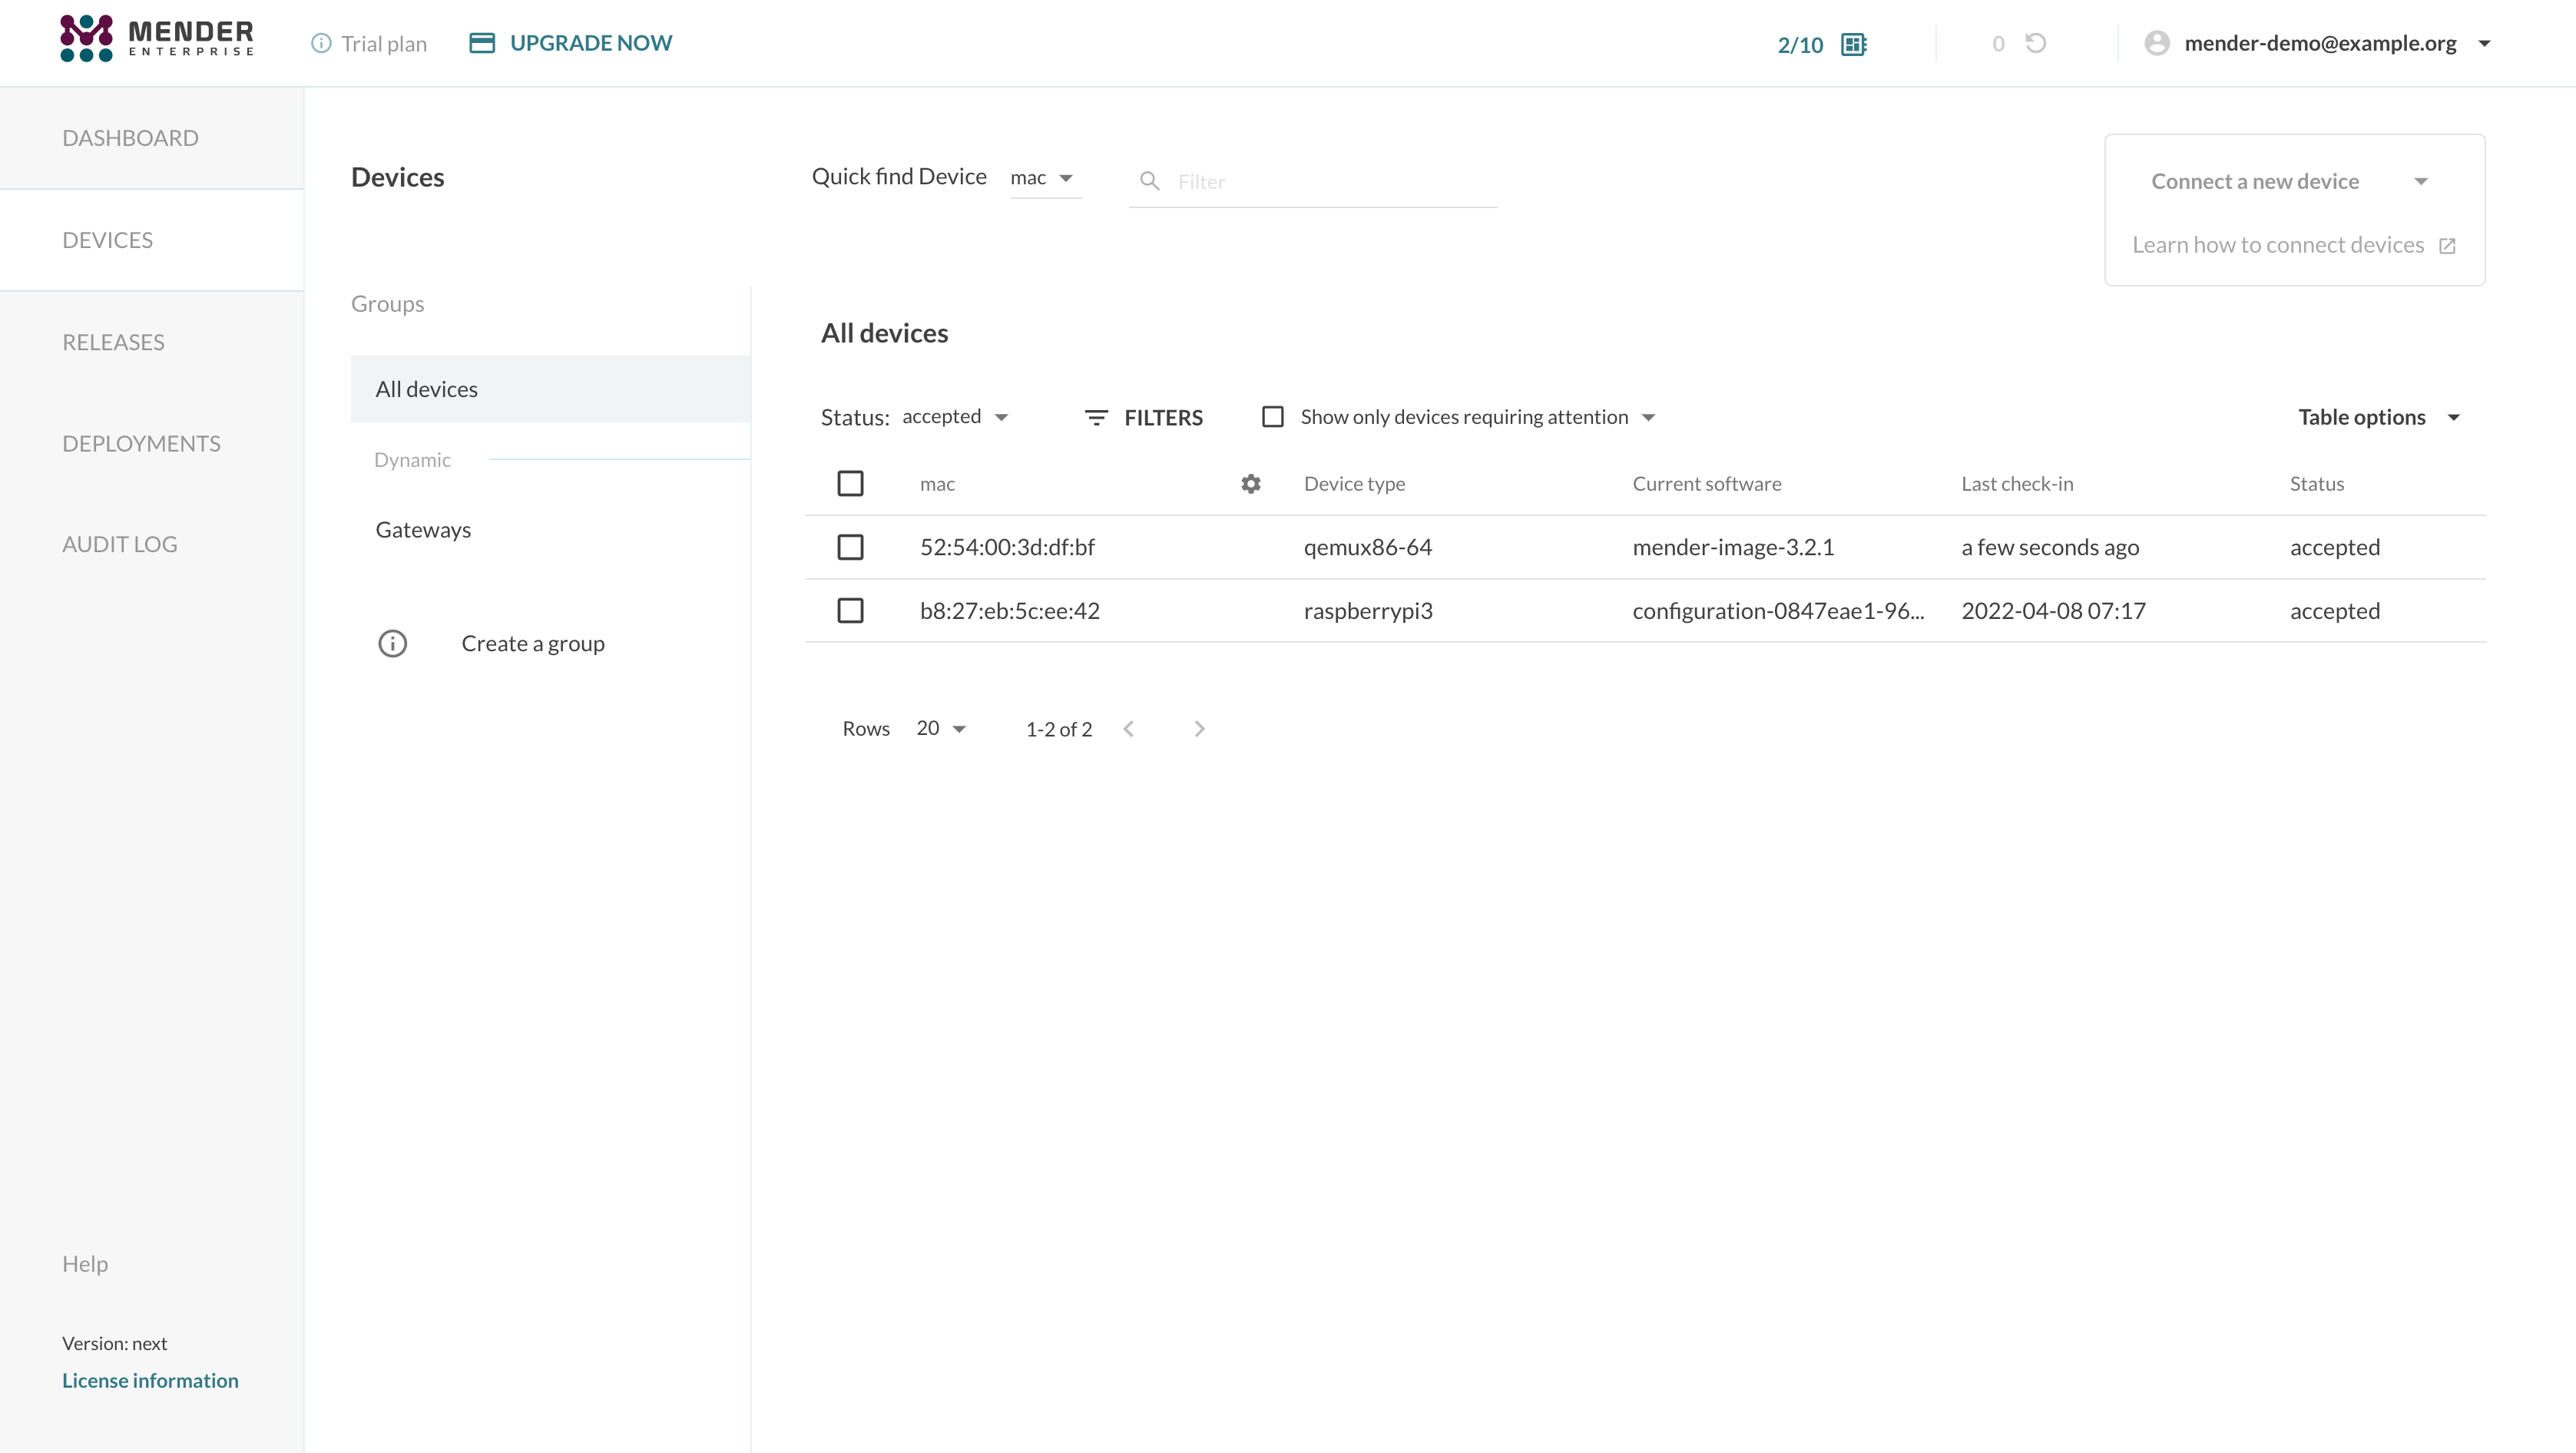
The device will act as if the communication between it and the Mender Server is direct. You can schedule deployments, apply configurations, and list the device and its inventory attributes as usual. All the Mender features on the device will work transparently, including the Troubleshoot add-on.
For instance, you will be able to launch a Remote Terminal session and access the device's shell:
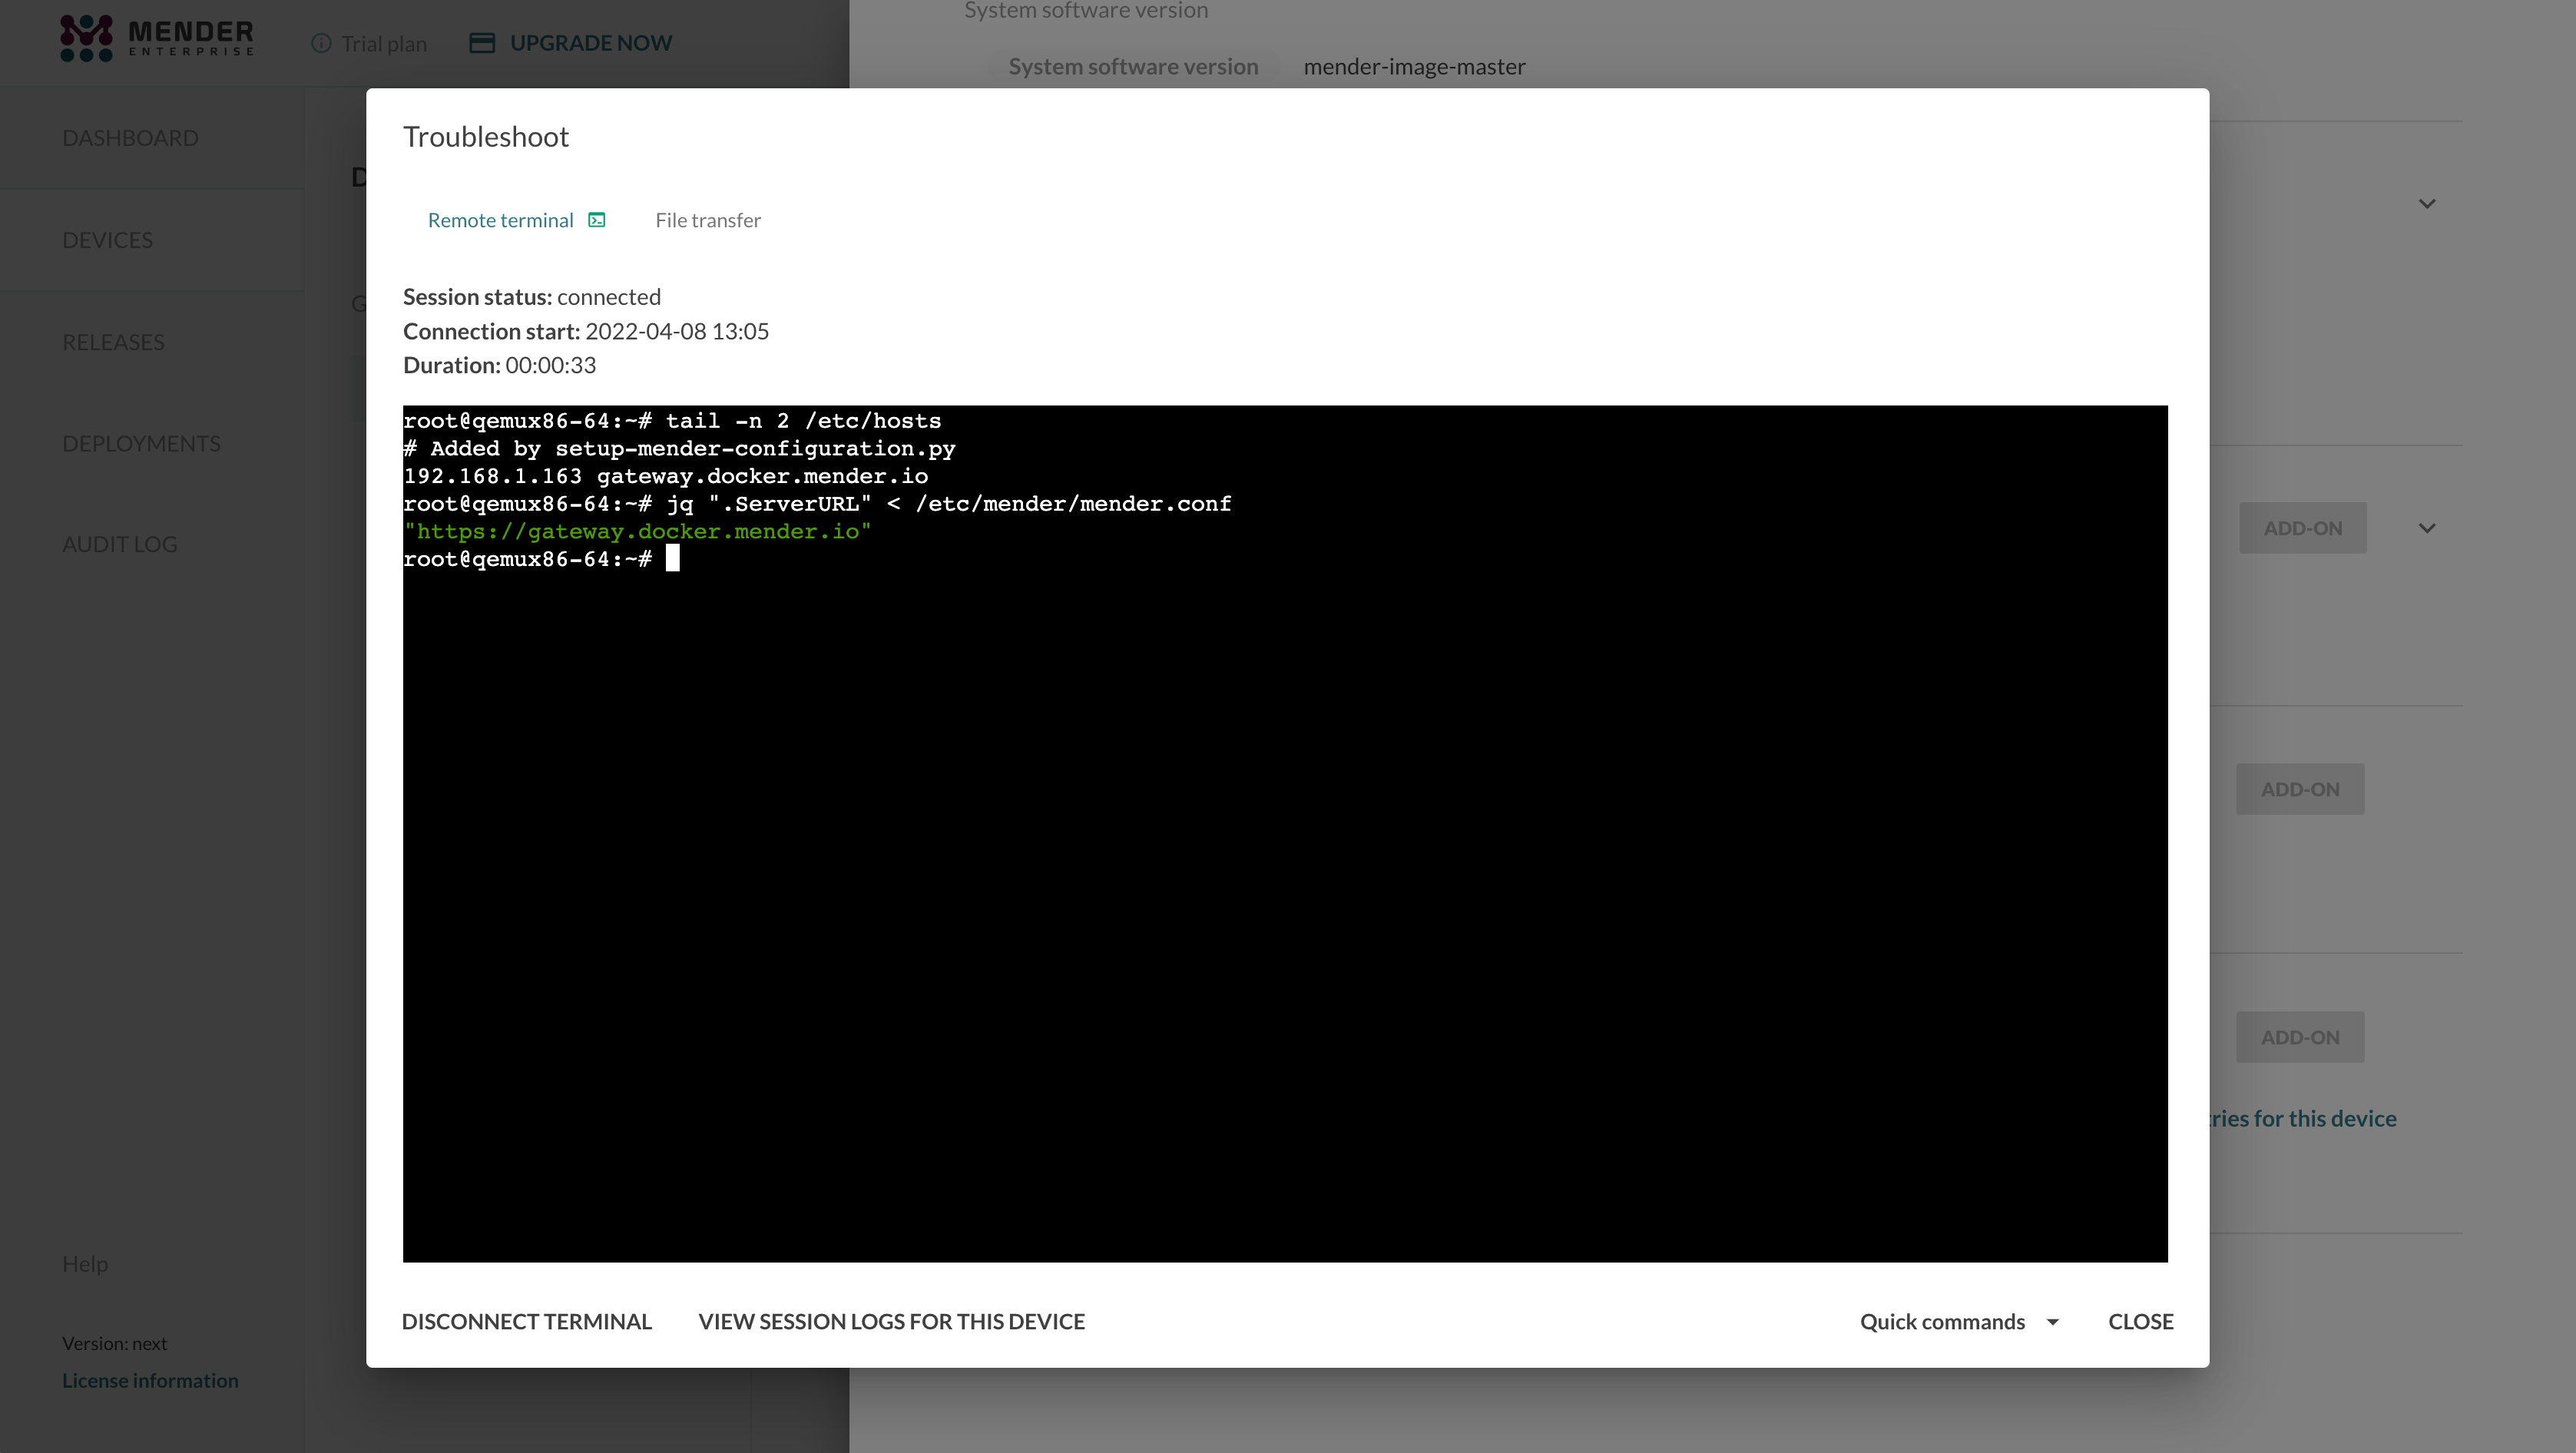
To prove the device has no direct connection to the Mender Server, you could add an entry
in your /etc/hosts file to point the Mender Server's domain name to a wrong IP address:
echo "0.1.1.1 hosted.mender.io" | sudo tee -a /etc/hosts
curl hosted.mender.io
Which outputs:
0.1.1.1 hosted.mender.io
curl: (7) Failed to connect to hosted.mender.io port 80: Connection refused
Communication between the device and the Mender Server will continue normally through the Mender Gateway despite it.
Enable the Artifacts Cache
The Mender Gateway can cache the Artifacts locally to reduce the bandwidth consumption when
multiple devices connected to it need to download the same file from the Mender Server. You can
enable the feature by setting the configuration option ArtifactsCache to true in the
configuration file:
{
    "HTTPS": {
        "Enabled": true,
        "Listen": ":443",
        "ServerCertificate": "/usr/share/doc/mender-gateway/examples/cert/cert.crt",
        "ServerKey": "/usr/share/doc/mender-gateway/examples/cert/private.key"
    },
    "Features": {
        "ArtifactsProxy": {
            "Enabled": true,
            "GatewayURL": "https://gateway.docker.mender.io",
            "DomainWhitelist": ["s3.amazonaws.com"],
            "ArtifactsCache": {
                "Enabled": true,
                "Path": "/var/cache/mender-gateway"
            }
        }
    },
    "UpstreamServer": {
        "URL": "https://hosted.mender.io"
    }
}
The Mender Gateway will automatically manage the cache eviction when the Artifacts cache is enabled if there is no more free space on the path specified in the configuration file. Freeing up disk space will remove cached Artifacts that are not being served anymore to clients starting from the oldest one. Therefore, we highly suggest using a dedicated partition or volume to store the artifacts on the device to avoid the Mender Gateway filling up the root file system or the data partition. One option is mounting a loop device dedicated to the Mender Gateway Artifacts cache feature.
sudo mkdir /var/cache/mender-gateway
sudo fallocate -l 1G /mender-gateway.cache
sudo mkfs.ext4 /mender-gateway.cache
echo "/mender-gateway.cache /var/cache/mender-gateway ext4 loop 0 0" | sudo tee -a /etc/fstab
sudo mount /var/cache/mender-gateway
mke2fs 1.44.5 (15-Dec-2018)
Discarding device blocks: done
Creating filesystem with 262144 4k blocks and 65536 inodes
Filesystem UUID: a6ce3bd4-e354-47e3-9469-b8402a2cc58a
Superblock backups stored on blocks:
  32768, 98304, 163840, 229376

Allocating group tables: done
Writing inode tables: done
Creating journal (8192 blocks): done
Writing superblocks and filesystem accounting information: done
The Mender Gateway will store the cached Artifacts in the loop device /mender-gateway.cache,
mounted in /var/cache/mender-gateway and limited to 1 GB:
df -h /var/cache/mender-gateway
Filesystem      Size  Used Avail Use% Mounted on
/dev/loop0      976M  2.6M  907M   1% /var/cache/mender-gateway
Final considerations
The device will trust the HTTPS certificate used by the Mender Gateway because it is the same demo
certificate used in the Mender Server demo setup. It supports both docker.mender.io and the
wildcard *.docker.mender.io domain names.
In a production setup, you want to replace the demo certificate in the Mender Gateway device with your own certificate. In this case, make sure the devices connecting to the Mender Gateway will consider such a certificate as trusted.