Prepare a Raspberry Pi device
If you do not have have a Raspberry Pi, please go to Prepare a virtual device.
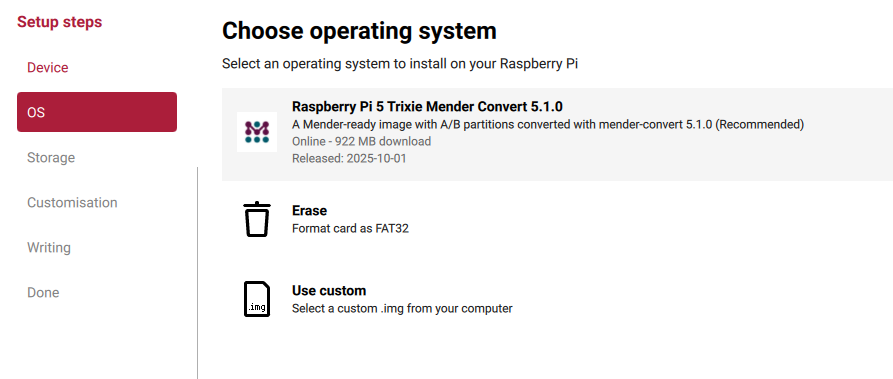
In this tutorial we will prepare a Raspberry Pi with a custom Raspberry Pi OS (previously called Raspbian) image. The only difference from the official Raspberry Pi OS image is that it has been converted to support robust system updates with Mender.
Completing this tutorial normally takes less than one hour.
Prerequisites
To follow this tutorial, you will need the following:
- One of these Raspberry Pi models:
- An 8 GB or larger microSD card.
- A Raspberry Pi universal power supply or a compatible USB cable.
- Internet connectivity for your Raspberry Pi (either Ethernet or WiFi available)
Step 1 - Flash the Raspberry Pi
Option #1: Configure your Raspberry Pi in headless mode
You can take advantage of the headless configuration options of Raspberry Pi to enable SSH or to configure the wireless network. This saves you the hassle of connecting a monitor and keyboard after your device has booted, as it will come up with WiFi and SSH already working and you can just SSH into it from your workstation.
Using rpi-imager (recommended)
You can use our custom content repository to download, configure and flash the image to your Raspberry Pi.
To get started, navigate to Raspberry Pi's website and download rpi-imager.
Once rpi-imager is installed, specify a custom repository by navigating to ADD OPTIONS -> Content Repository -> Use custom URL and
add https://docs.mender.io/releases/rpi_imager_schema.json.
You can also specify the repository when launching rpi-imager through the terminal with:
sudo rpi-imager --repo https://docs.mender.io/releases/rpi_imager_schema.jsonOnce that is done, select your Raspberry Pi version and choose the corresponding Mender image.
You can now configure and flash the image following the steps in the Raspberry Pi OS documentation. Make sure to configure your username, password, WiFi credentials, and enable SSH access during the setup.
Using command line
If you need to configure your device using the command line only, follow these steps.
Download the Raspberry Pi OS image ready for Mender:
- Download link: Raspberry Pi 4 Model B
- Download link: Raspberry Pi 5
Flash the image without doing any configuration.
NB: Make sure the path to the SD is correct before flashing.
dd if=/path/to/image.img of=path/to/sdX bs=4M status=progressThen, insert the SD card you flashed above and find the boot partition inside it.
Open a terminal on your workstation and verify that it can be accessed in the
default location:
RPI_BOOT="$(awk '/media.*boot(fs)?/ { print $2; }' /proc/mounts)"
[ ! -d "$RPI_BOOT" ] && echo "ERROR: RPI boot directory not found"If this outputs nothing you can continue. If you get the ERROR, find out where
the SD card's boot partition is accessible and change the RPI_BOOT variable accordingly.
With the path to the boot directory set up, first configure the default user and password:
USERNAME=""
PASSWORD="$(openssl passwd)"

cat << EOF > "$RPI_BOOT"/userconf.txt
${USERNAME}:${PASSWORD}
EOF
Next configure the network related fields:
HOSTNAME=""
WIFI_SSID=""
WIFI_PASS=""
WLAN_COUNTRY="" # A two letter country code ex. NO, US etc.
NB: It is important that the WLAN_COUNTRY is set to the country code where the device is located.
Now run these commands to create necessary configuration files on the boot partition:
touch $RPI_BOOT/ssh $RPI_BOOT/meta-data $RPI_BOOT/user-dataIn latest RPi versions wifi network configuration has been changed from
a plain wpa_supplicant.conf file in favor of using the rpi-imager tool
and this is the easiest way to configure wifi.
Use the script below for configuring the cloud-init files on the boot partition.
cat <<- EOF > $RPI_BOOT/user-data
#cloud-config

hostname: ${HOSTNAME}
manage_etc_hosts: true
ssh_pwauth: true

write_files:
  - path: /etc/NetworkManager/system-connections/wifi-connection.nmconnection
    permissions: '0600'
    content: |
      [connection]
      id=wifi-connection
      type=wifi
      interface-name=wlan0

      [wifi]
      mode=infrastructure
      ssid=${WIFI_SSID}

      [wifi-security]
      auth-alg=open
      key-mgmt=wpa-psk
      psk=${WIFI_PASS}

      [ipv4]
      method=auto

      [ipv6]
      method=auto

runcmd:
  - raspi-config nonint do_wifi_country ${WLAN_COUNTRY}
EOF
Last but not least, unmount the boot partition to make sure all the changes are synced to it safely:
umount "$RPI_BOOT"Now disconnect the SD card, insert it into your Raspberry Pi and boot it.
If you have a different network setup or encounter any issues, please see the official Raspberry Pi documentation on headless setups.
Option #2: Configure your Raspberry Pi with a keyboard and monitor attached
If you did headless (Option #1 above) skip to Step 2 below.
Boot the Raspberry Pi with the newly flashed SD card. Attach a keyboard and monitor.
Follow the start-up wizard to:
- Select keyboard layout
- Set up your user and password.
Then, log in with your new user and password and do the following steps to set up WiFi:
- Run
sudo raspi-config - Select
Localisation Options, thenWLAN Country. Select the correct country code. - Select
System Options, thenWireless LAN. Set the SSID and passphrase for the network - Choose
Finish
Check that your Raspberry Pi is connected to the Internet (e.g. ping www.google.com).
If this does not work, please see the official Raspberry Pi documentation on network configuration.
Now do the following steps to set up SSH:
- Run
sudo raspi-config - Navigate to
Interface Optionsand SelectSSH - Choose
Yes,OKandFinish
If you encounter any issues, see Enable local SSH access in the official Raspberry Pi documentation for more information.
Step 2 - SSH into the Raspberry Pi
Your Raspberry Pi should now be booted, connected to the network and have the SSH daemon running, regardless if you followed the headless approach (Option 1) or connected a keyboard and monitor directly (Option 2).
If you do not know the IP address of your Raspberry Pi device, there are some great resources in the Raspberry Pi OS documentation on different ways of looking this up.
SSH into your device:
ssh <your-login>@<DEVICE-IP-ADDRESS>You should now see a command prompt similar to the following:
<your-login>@raspberrypi:~ $Keep this terminal open as we will shortly use it to install the Mender Client.
Step 3 - Login to hosted Mender
Hosted Mender is available in multiple regions to connect to. Make sure you select your desired one before proceeding.
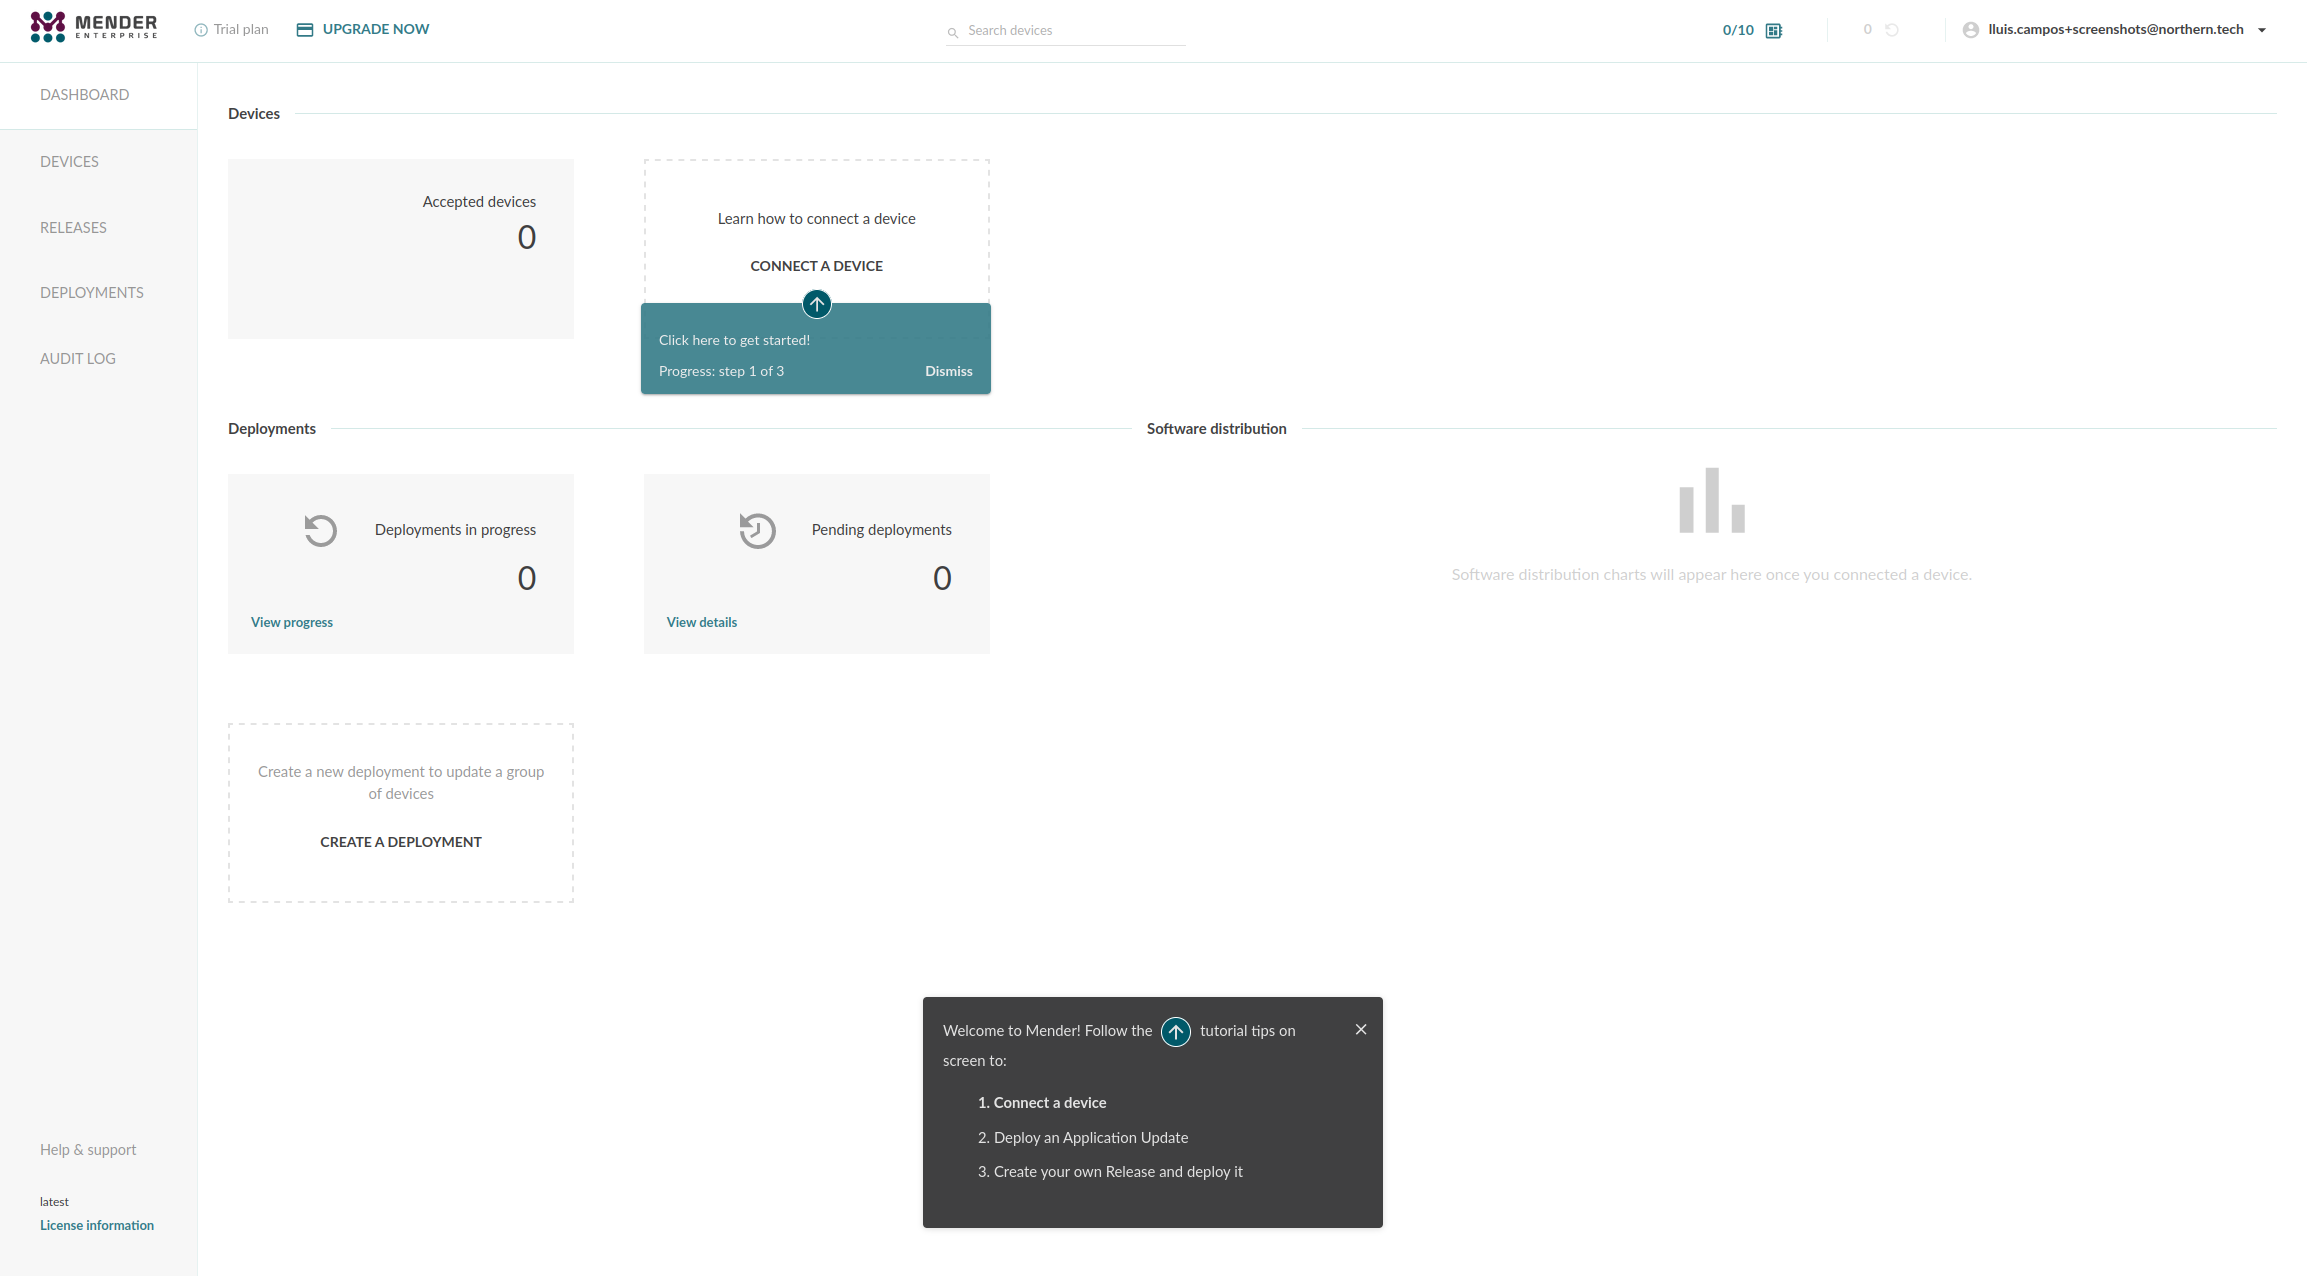
Login to hosted Mender. On the main page for the first time new users will get a tutorial in the Mender web GUI.
Go to the Dashboard tab and click on Connect a device.
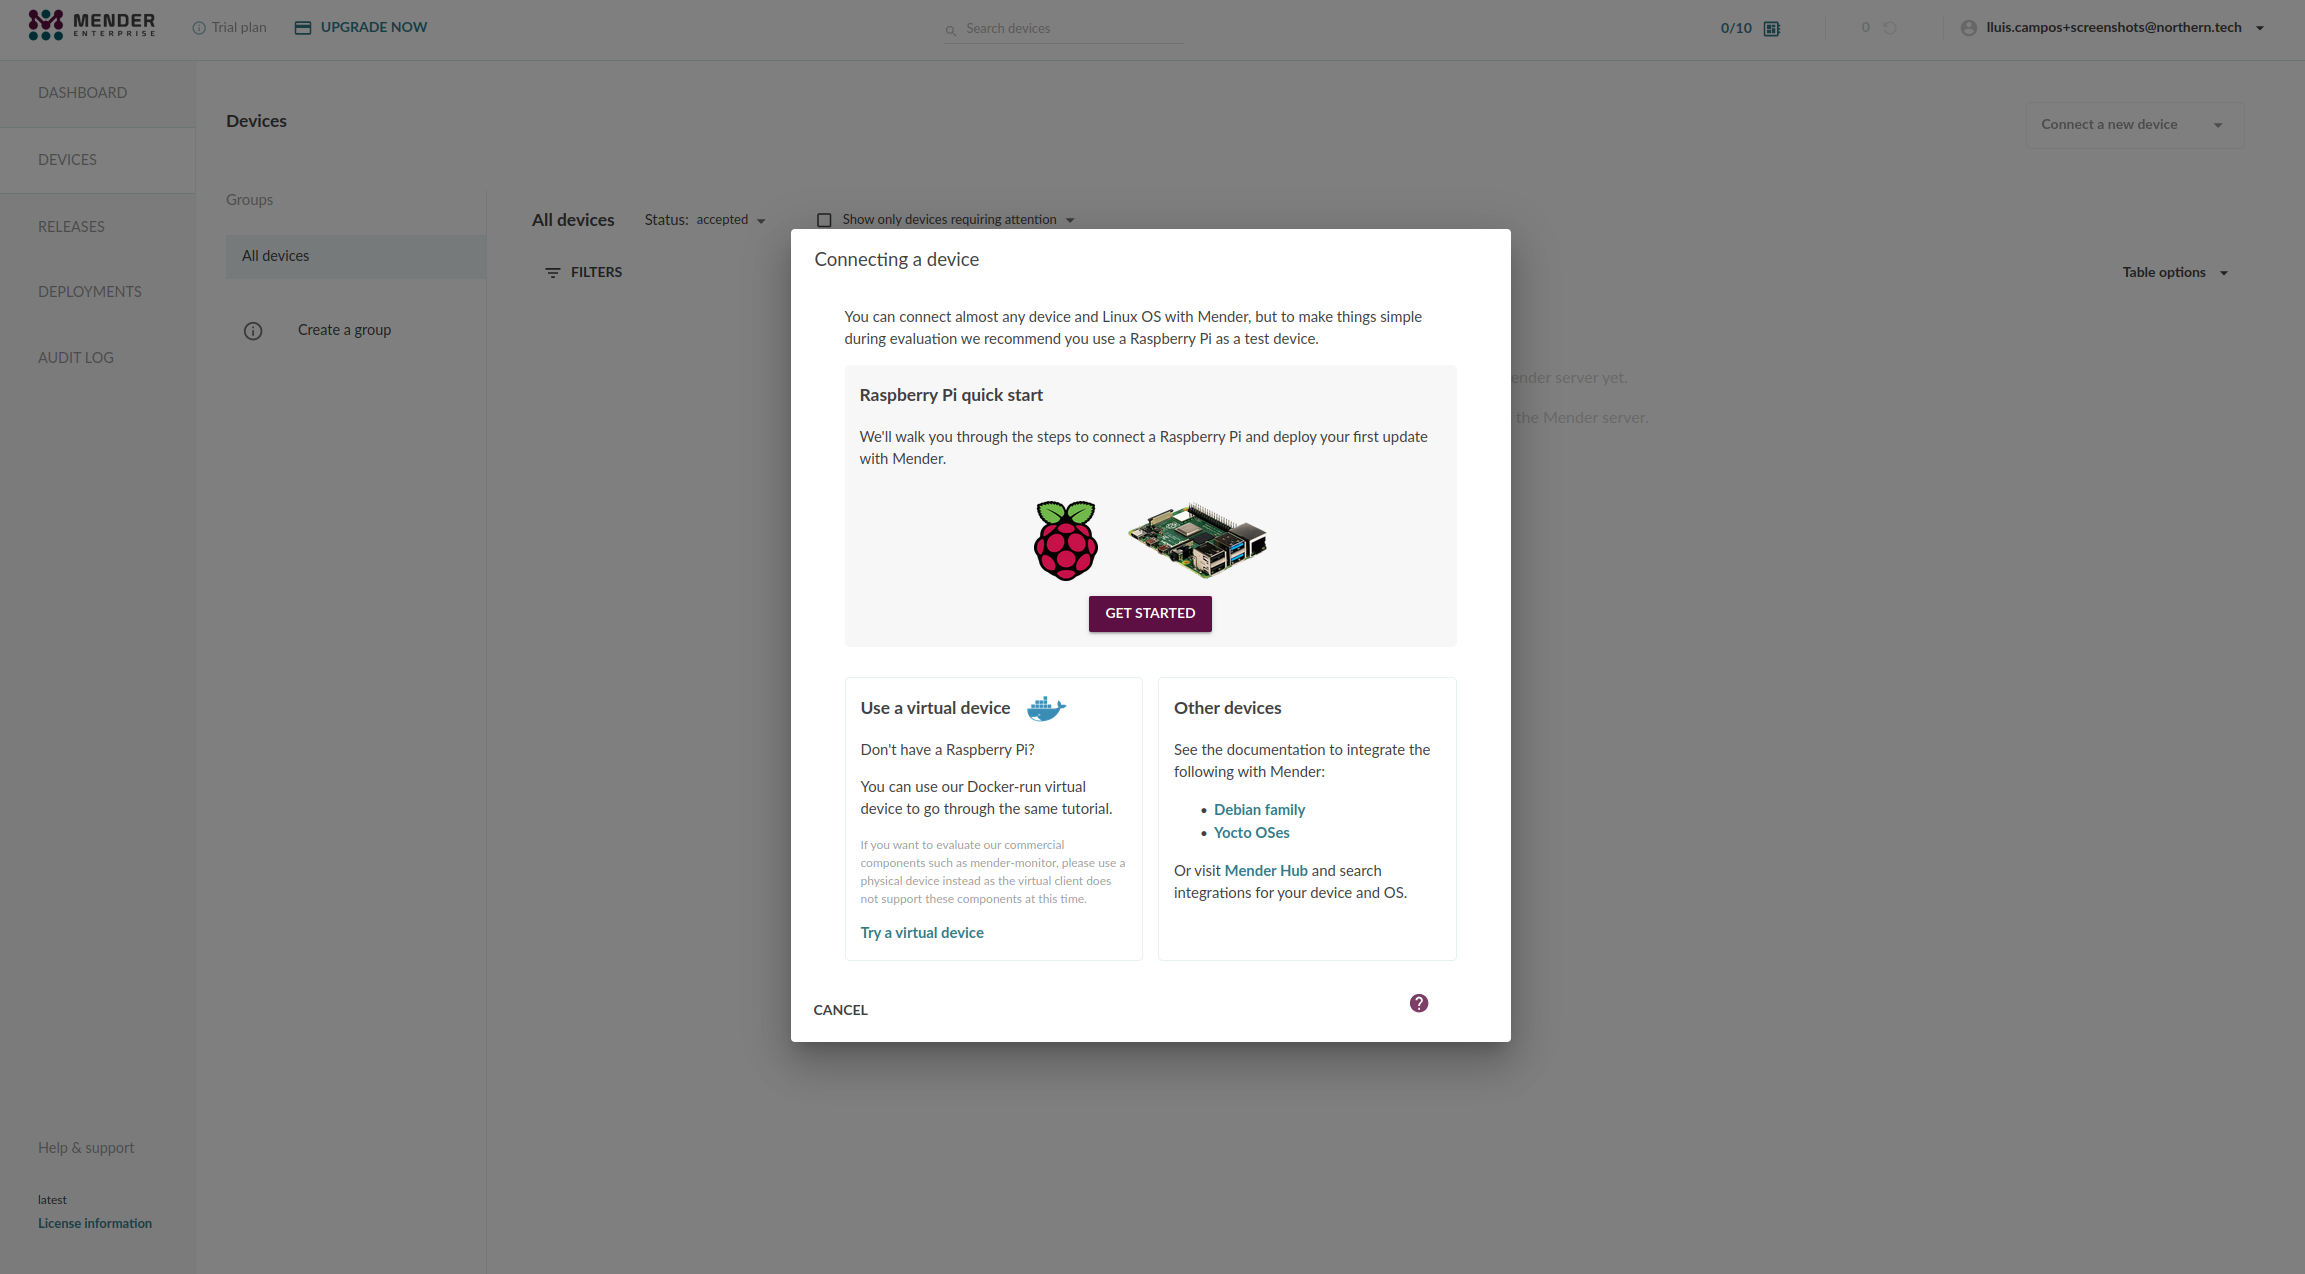
Step 4 - Connect a device
Select the GET STARTED button from the Raspberry Pi quick start box.
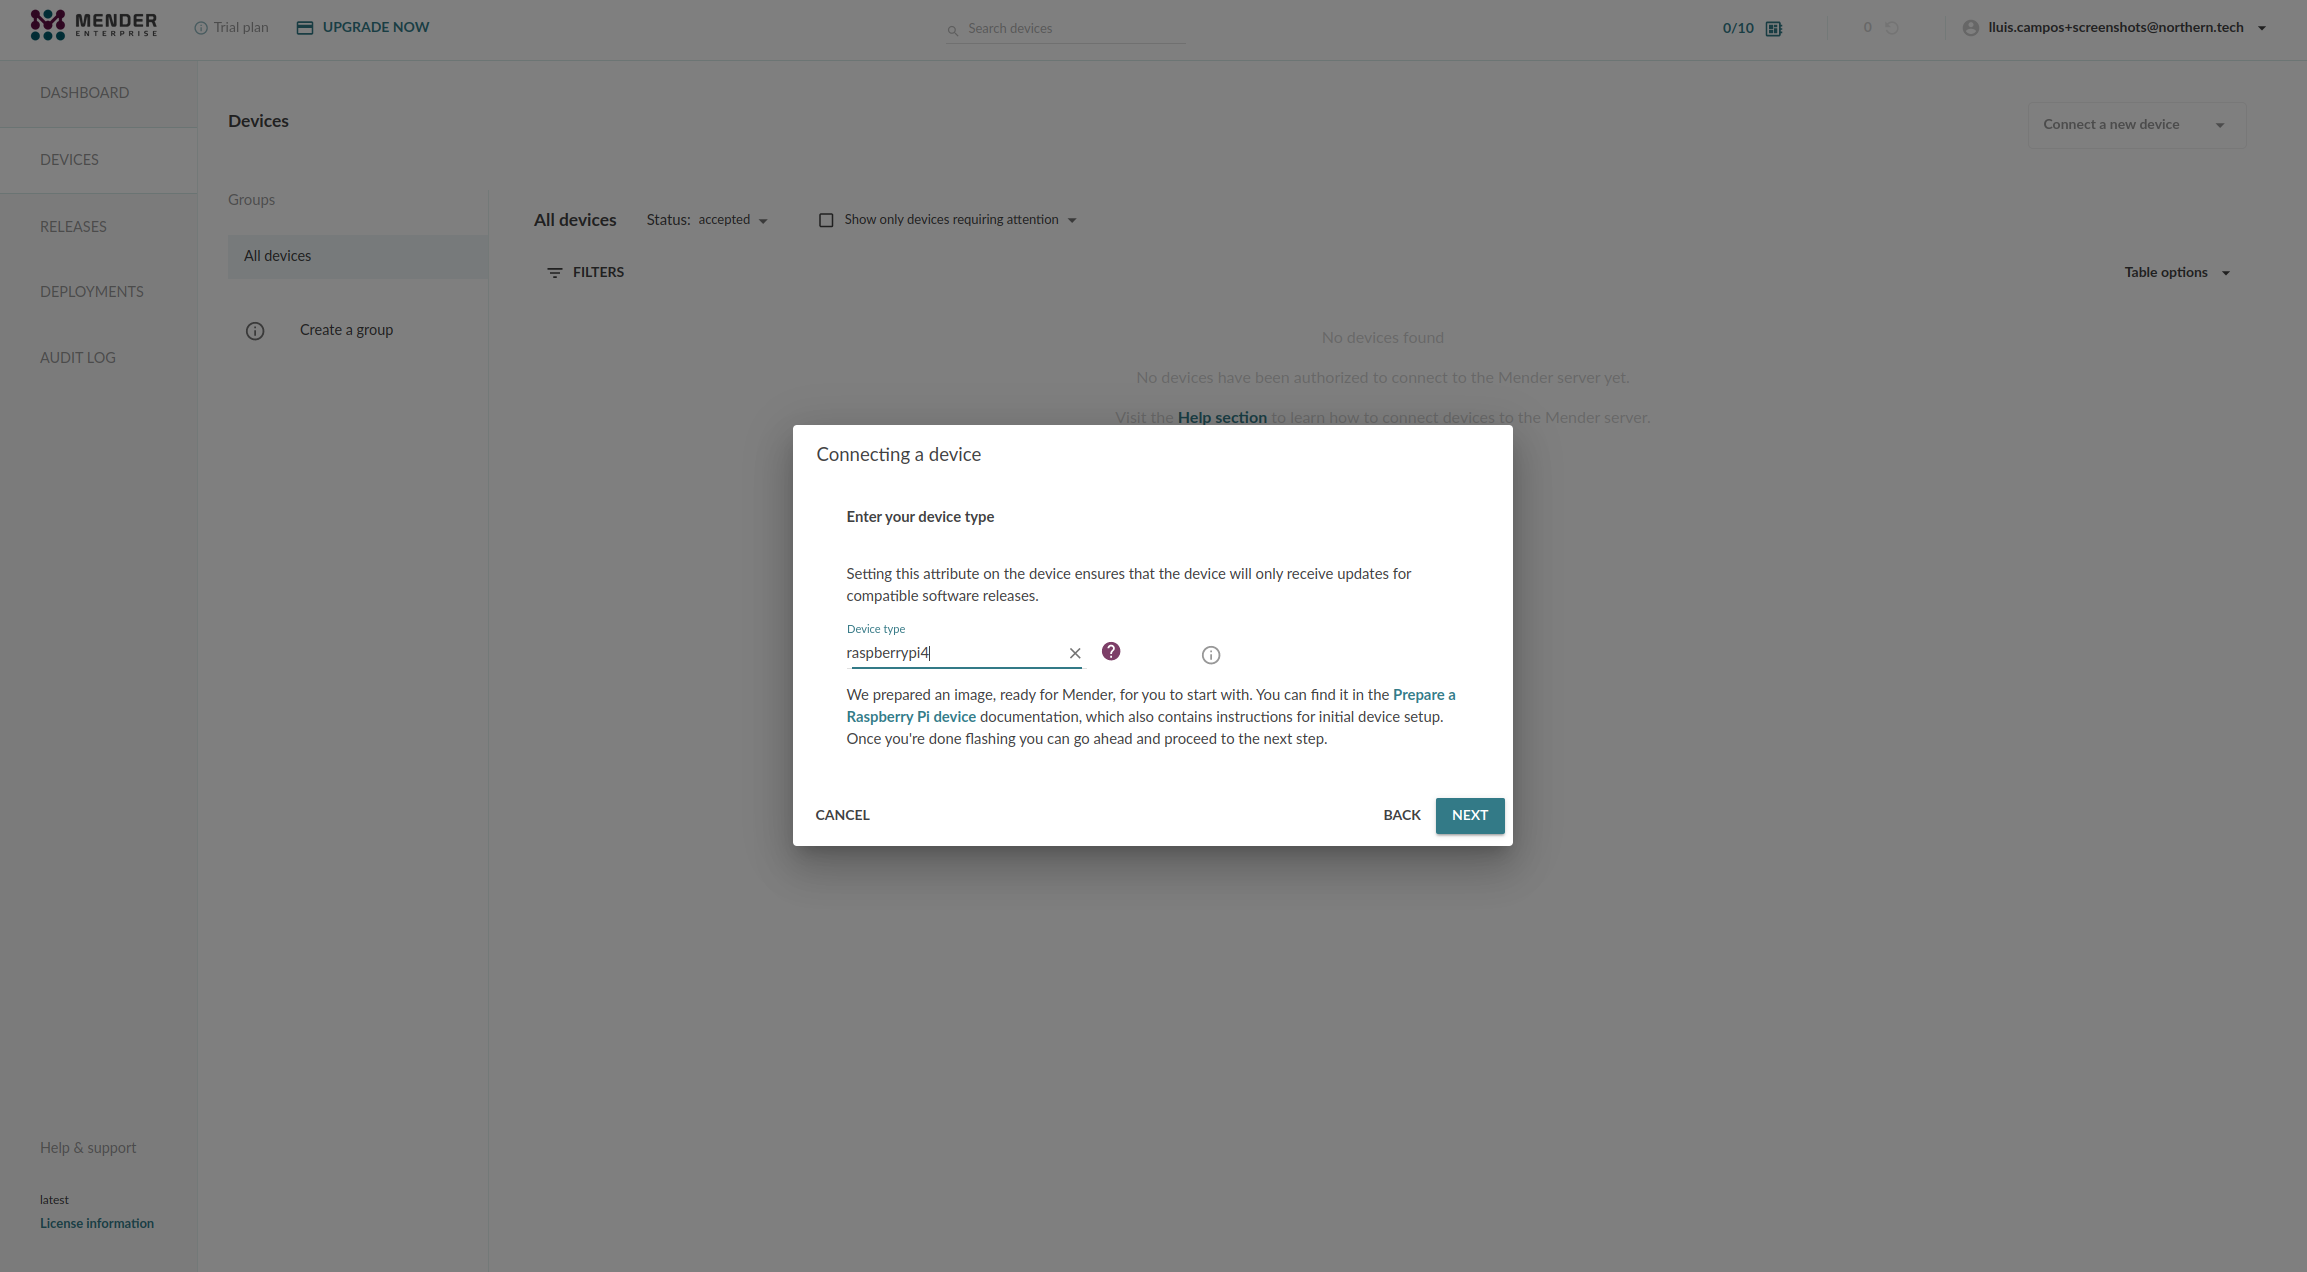
Step 5 - Choose device type
You need to specify one of the following:
- Raspberry Pi 4
- Raspberry Pi 5
Step 6 - Install the Mender Client on the device
Next we will install the Mender Client on the device and connect it to the Mender server.
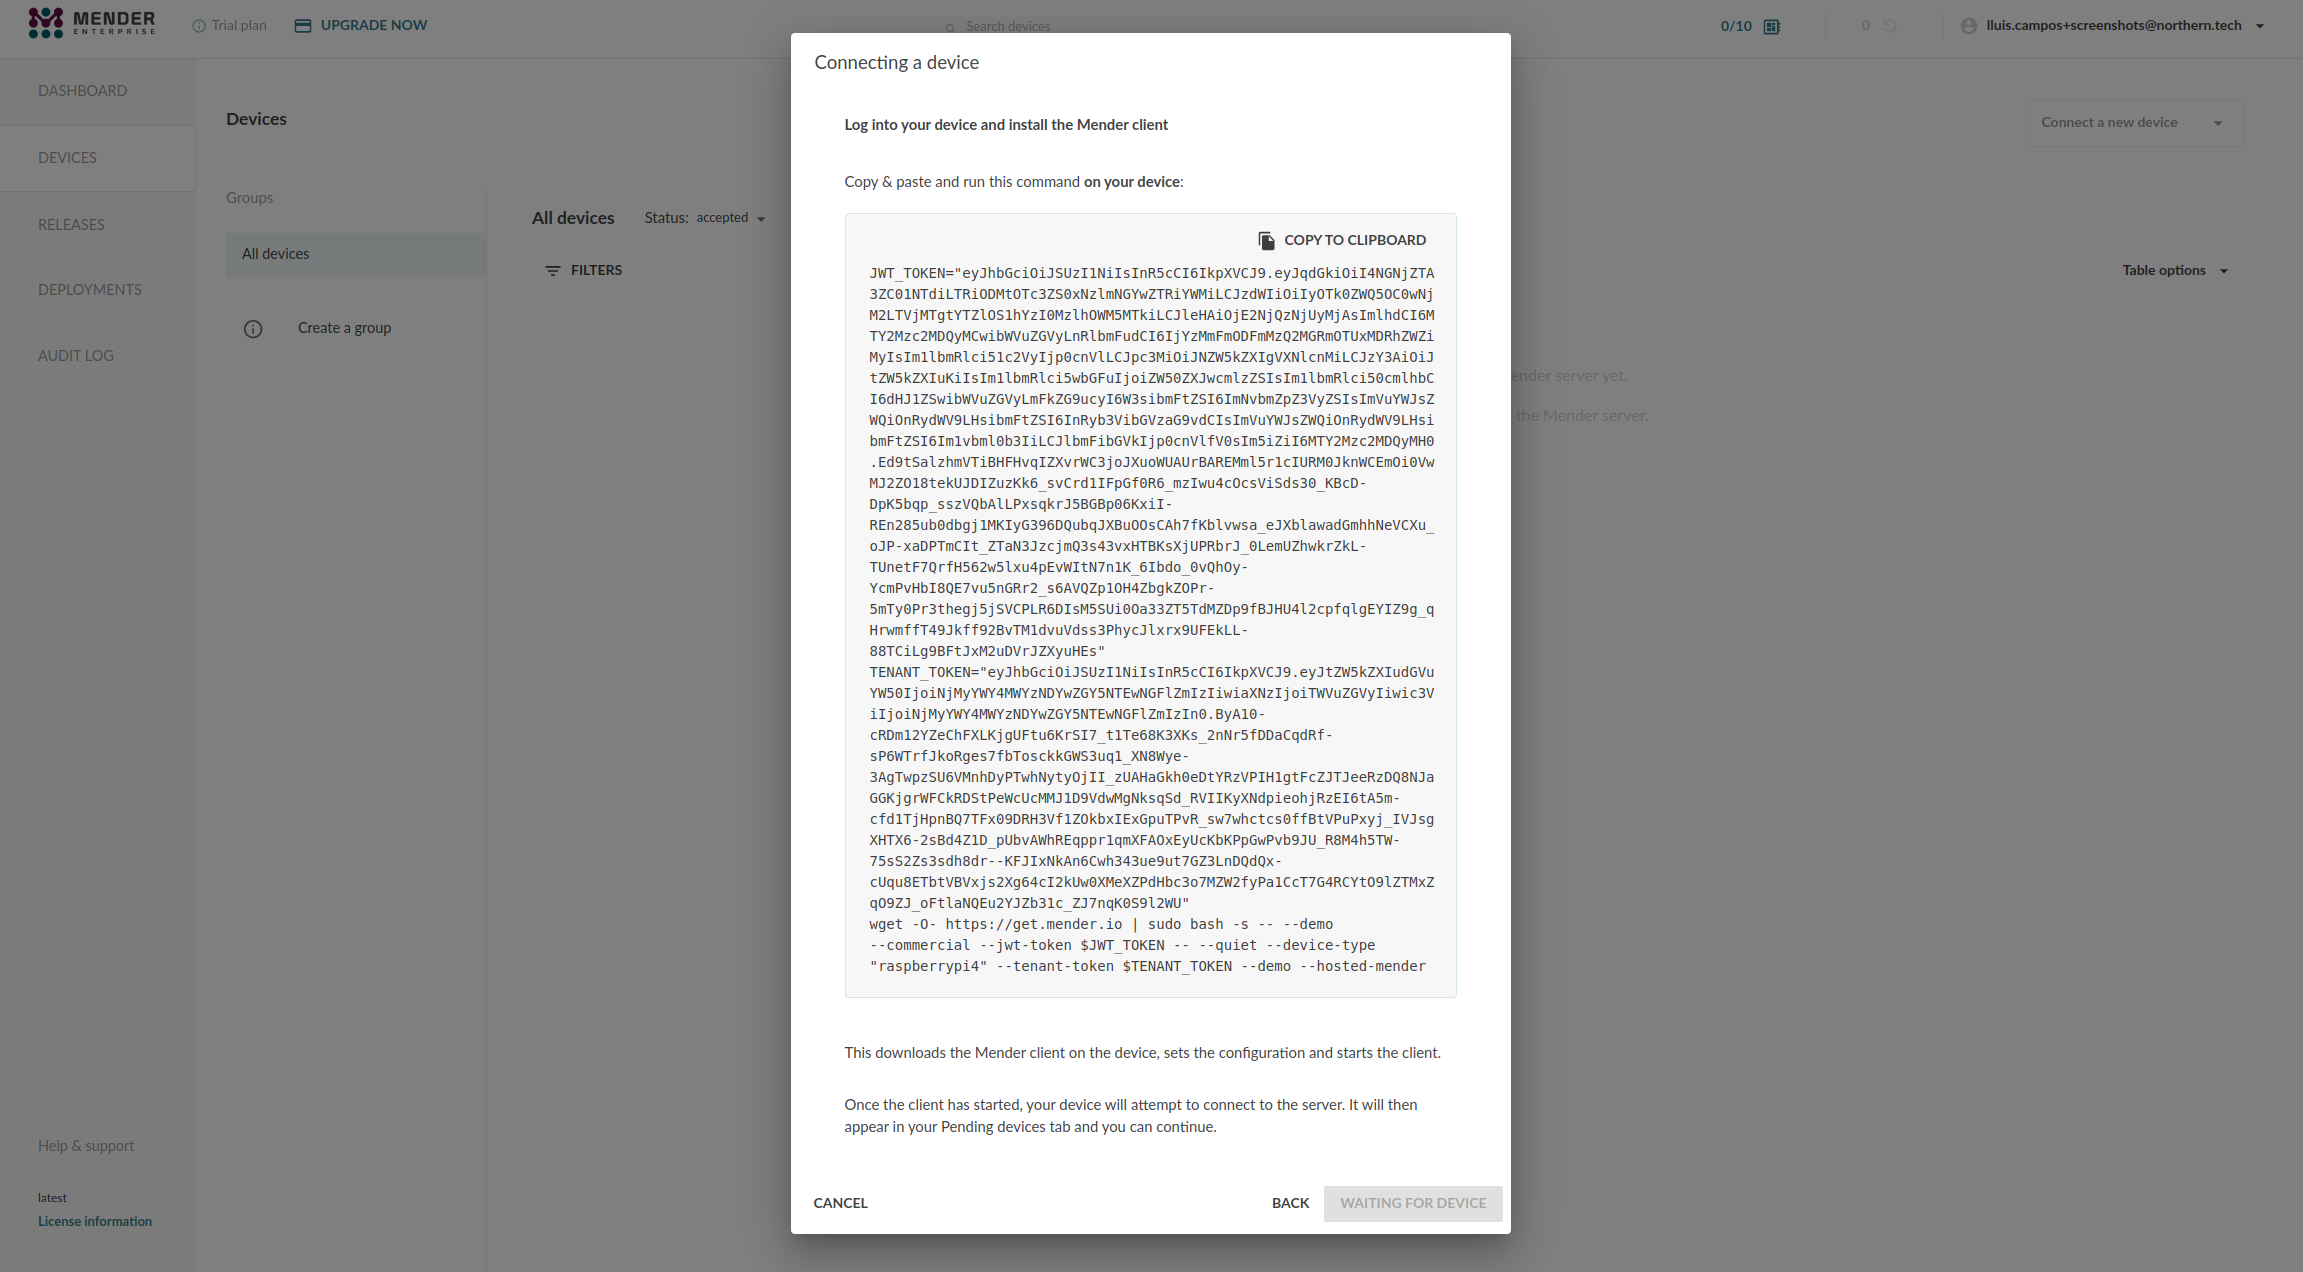
In the dialog box from above, click Copy to clipboard to copy the code to install the Mender Client. Now go to the command line on your device, and paste the code e.g. by right-clicking in the terminal and selecting Paste, followed by Enter.
This downloads the Mender Client on the device, configures and starts it.
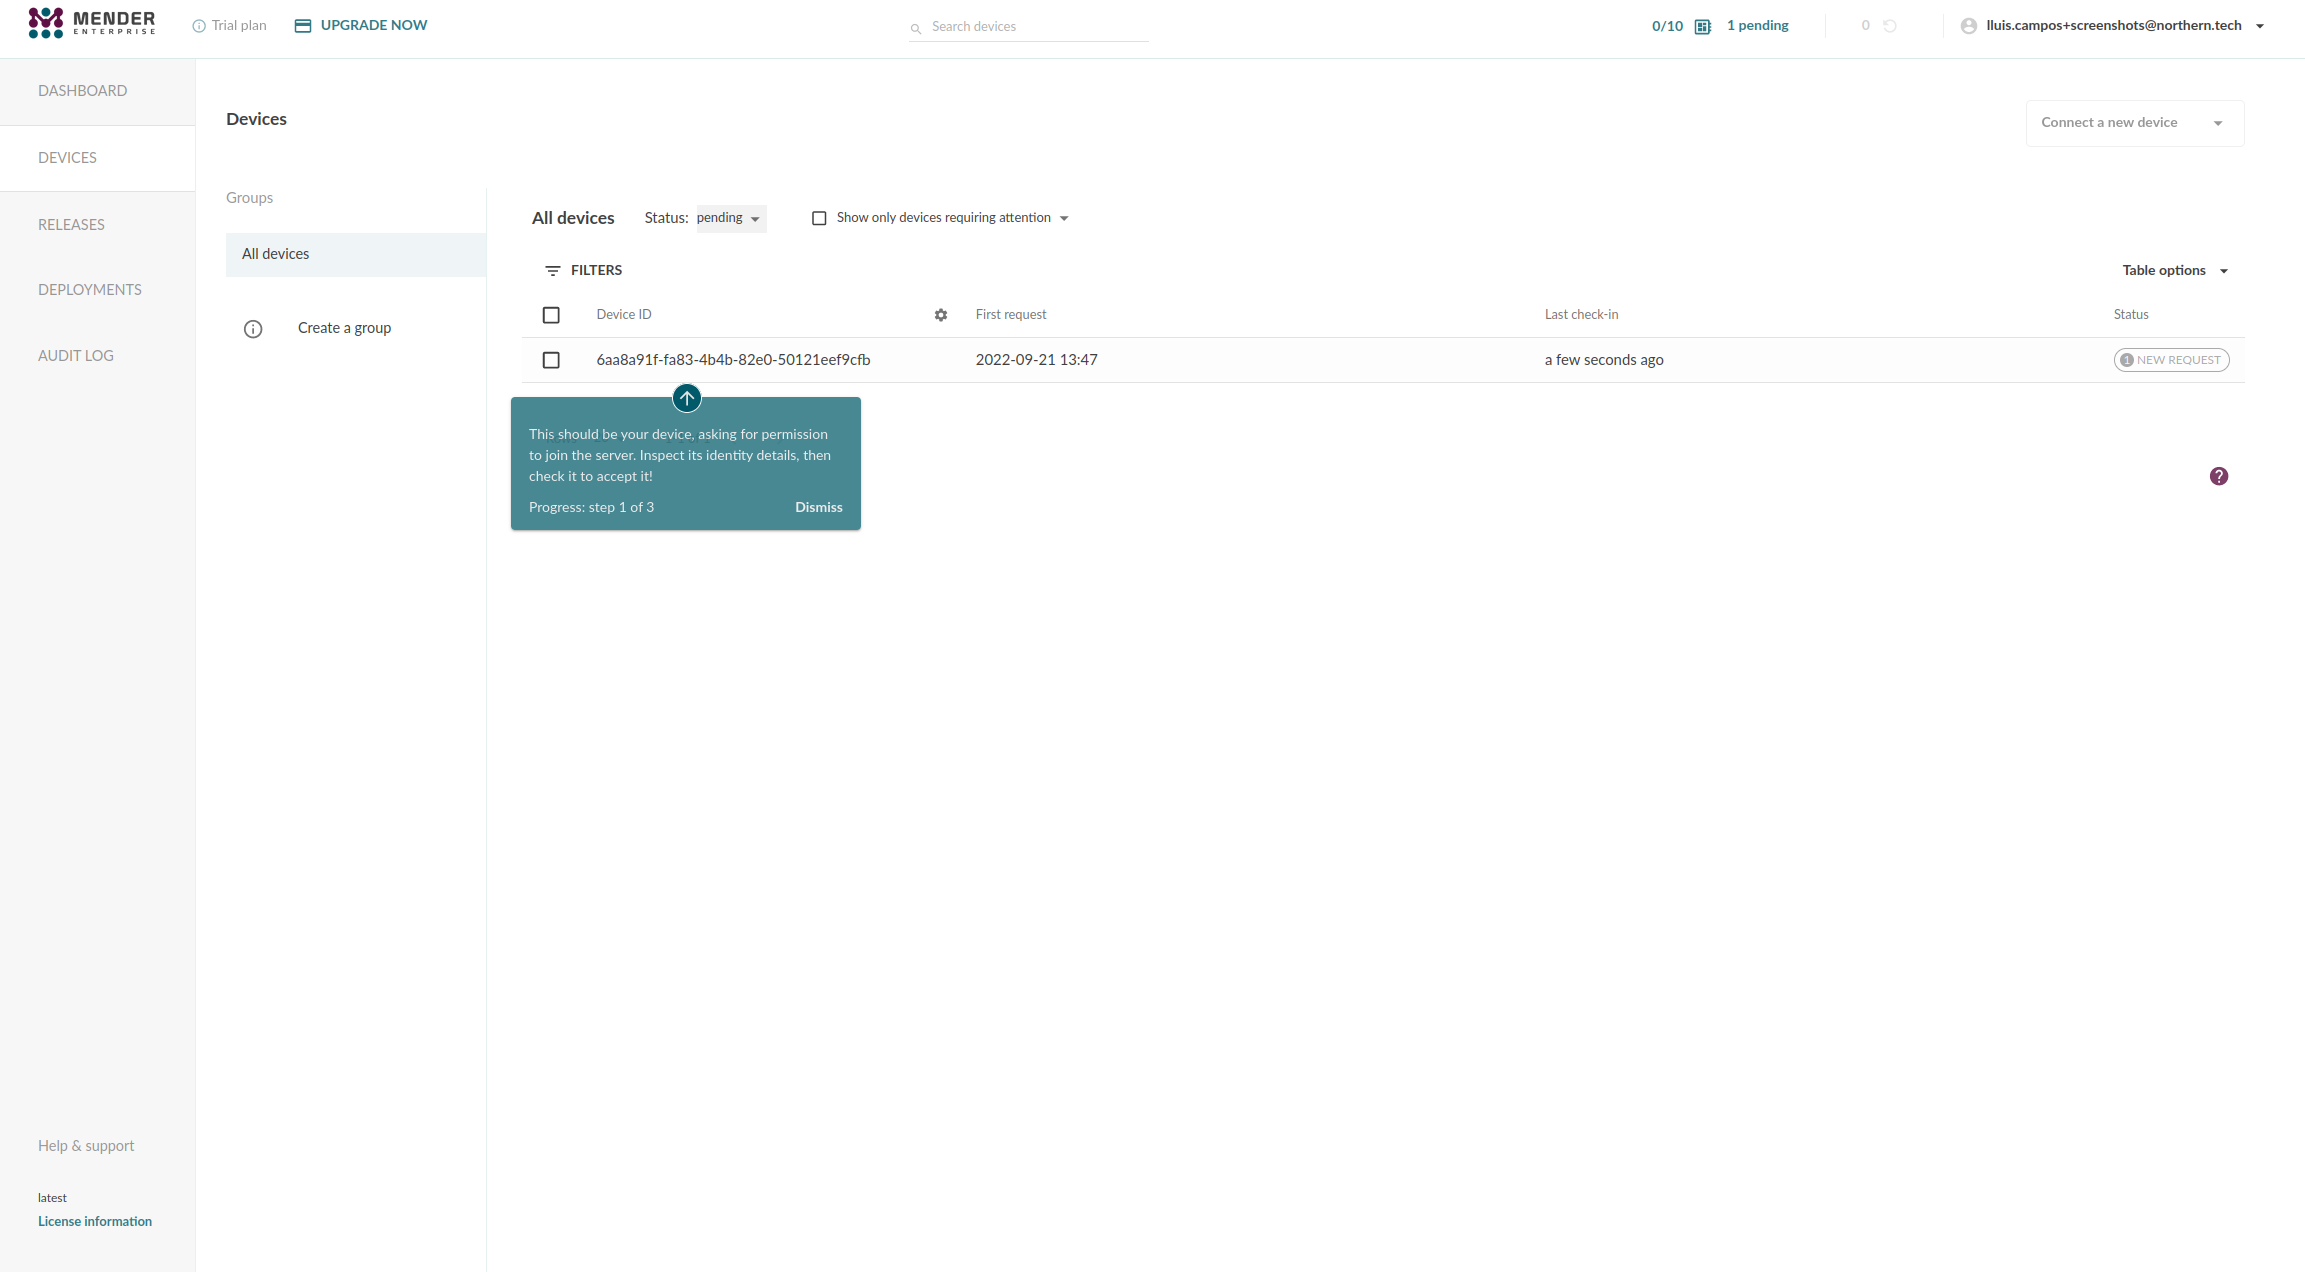
Step 7 - Accept the device
Once the client has started, the Mender Client will attempt to connect to the server and it will appear in your Pending devices tab in the server. Go ahead and Accept the pending device in the server. After accepting the device, it will appear on the Device groups tab on the left of Pending.
Next step
Proceed to Deploy an application update.